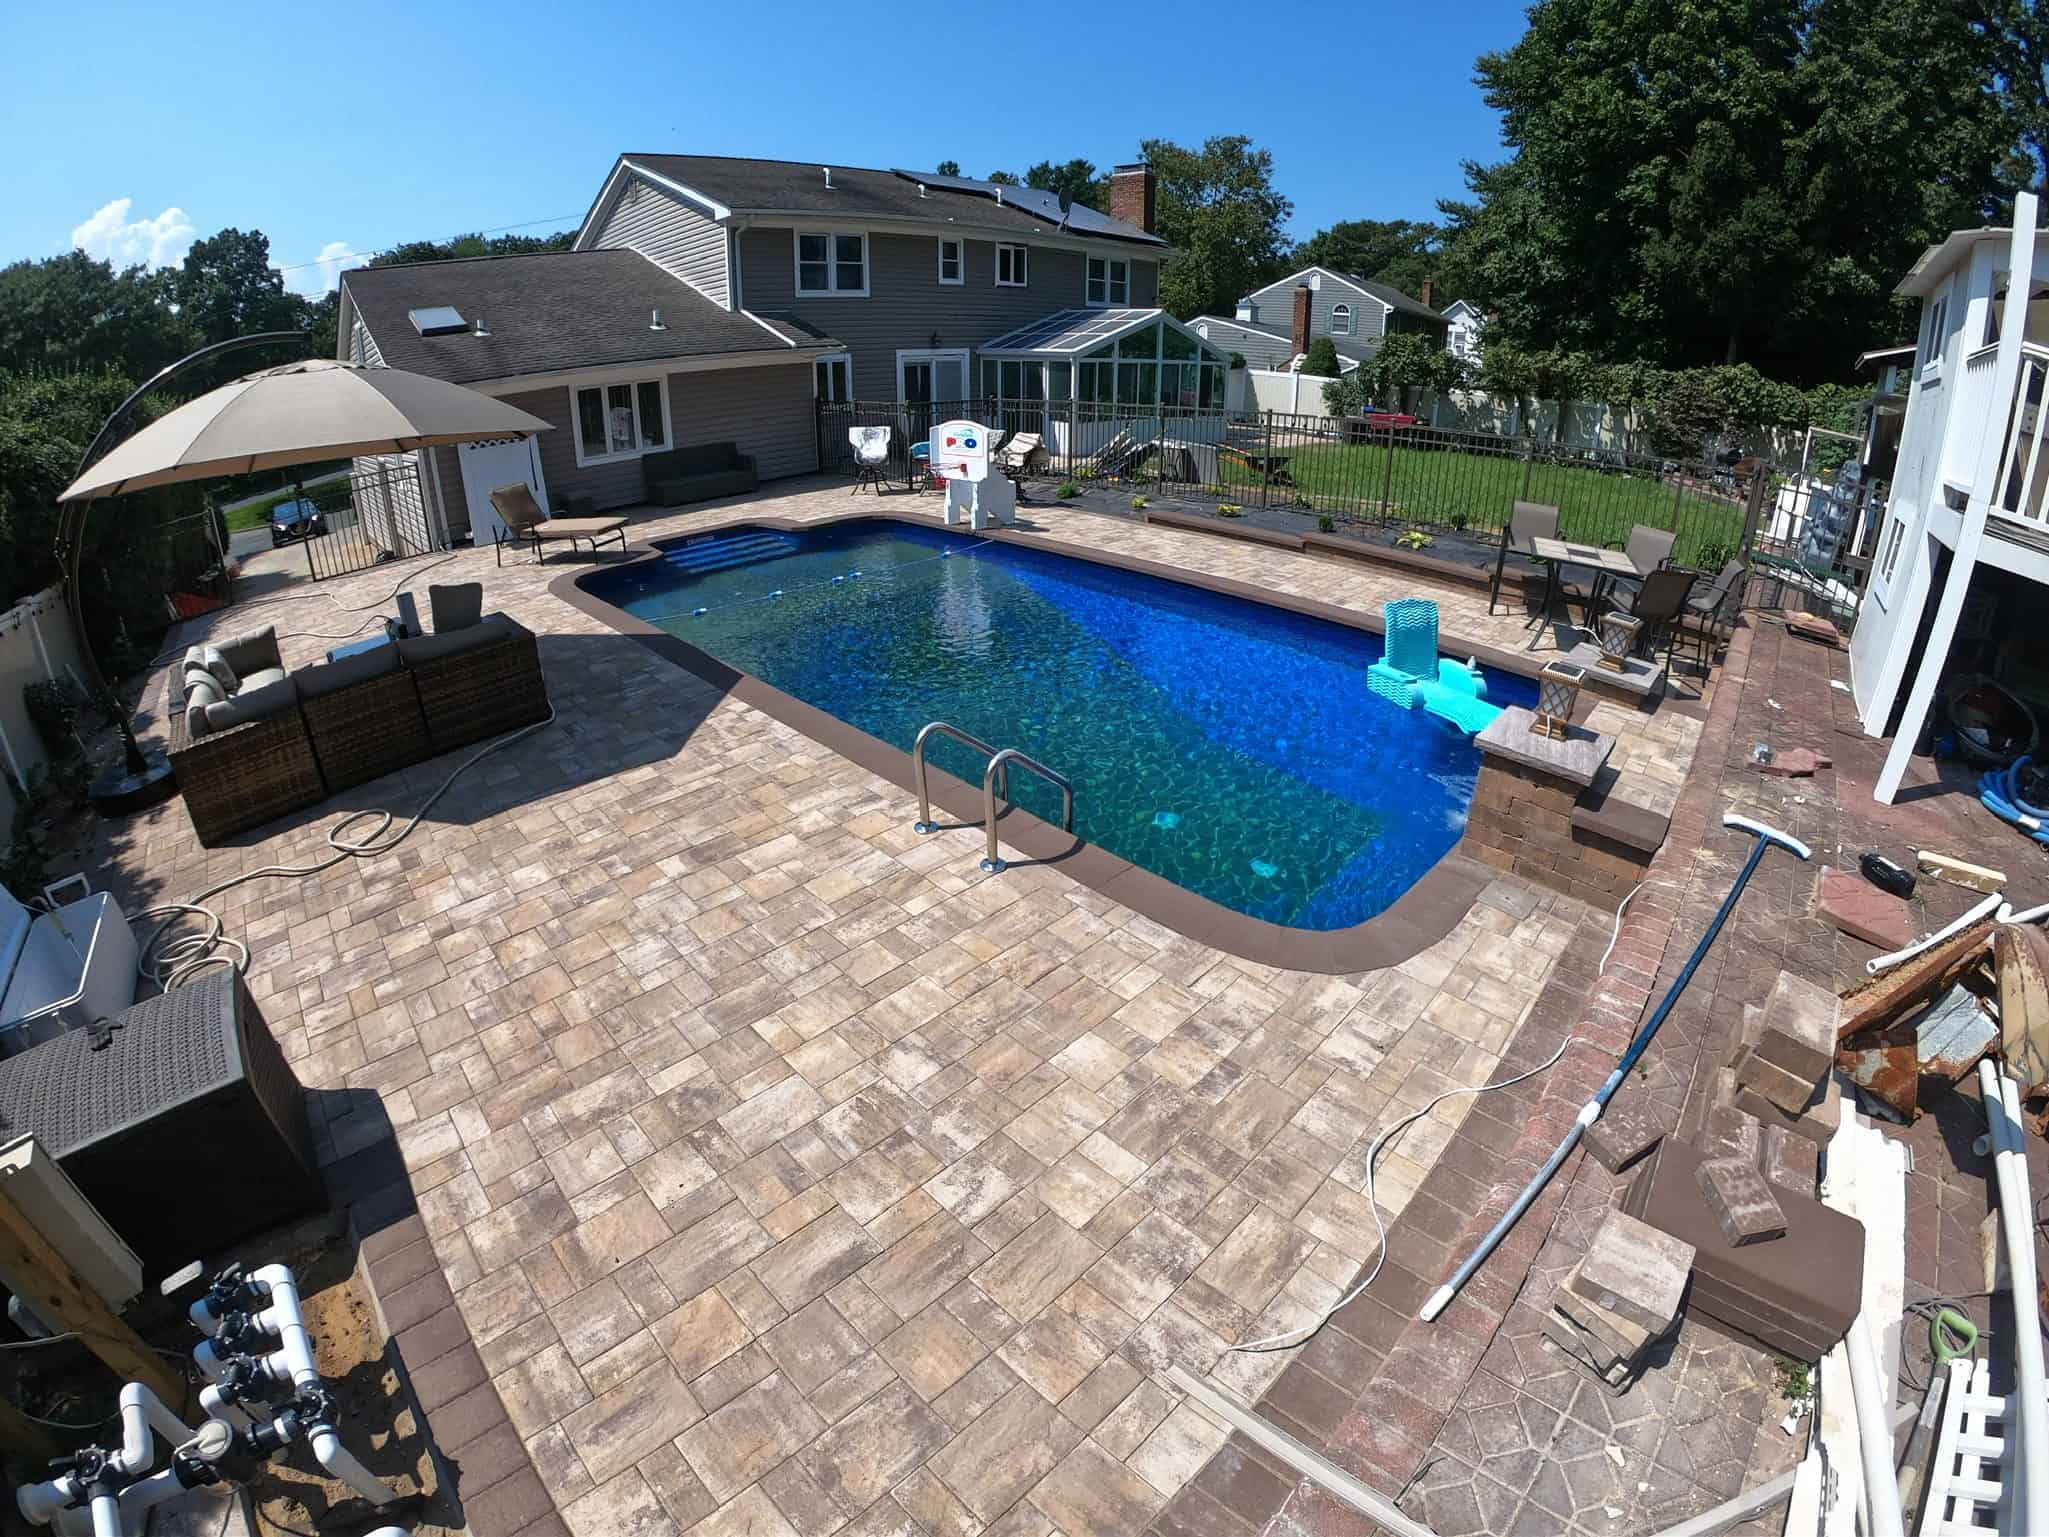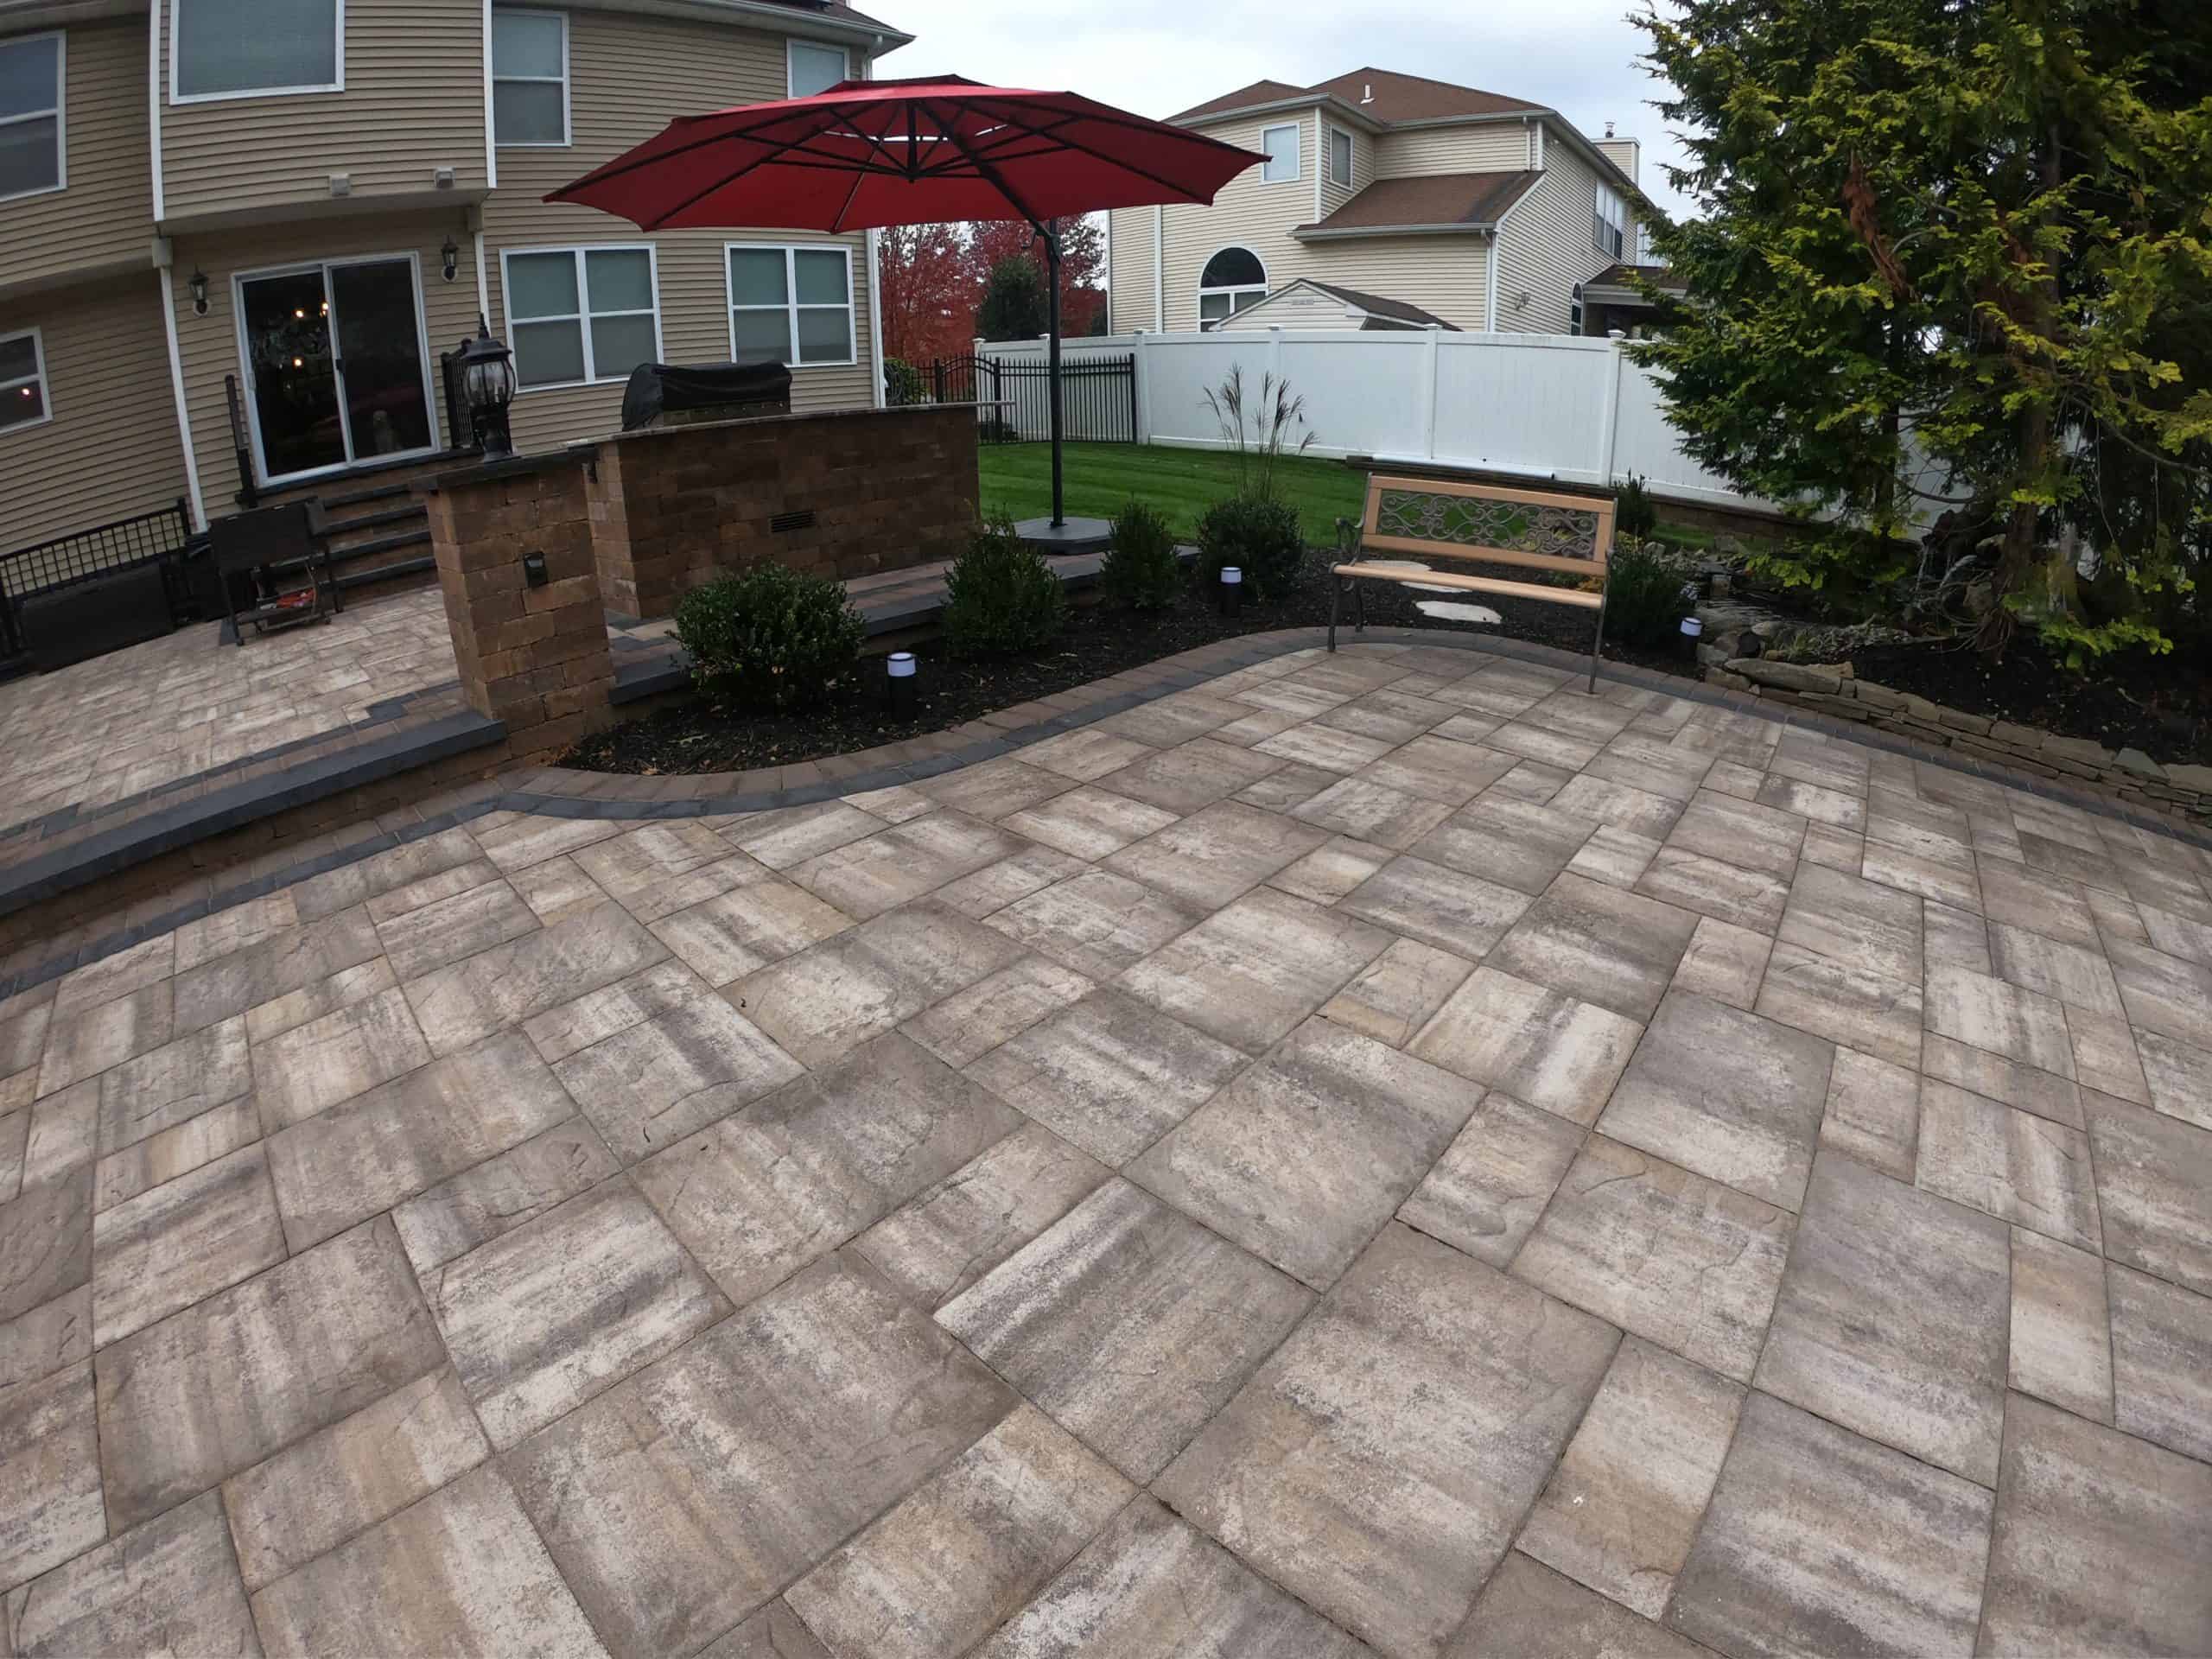
The difference between a patio that lasts 30 years and one that cracks after two winters has nothing to do with the stones you pick.
Share:
Summary:
You’ve seen the patios that start shifting after one hard winter. Maybe it happened to a neighbor in Holbrook, or you watched a friend’s poolside patio in Bay Shore develop a slow, uneven sag that nobody wants to walk across barefoot. The frustrating part is that it usually didn’t have to go that way. The difference between a patio that holds up for decades and one that fails within a few years almost always comes down to what the contractor did before the first stone was set. Here’s what that actually looks like — and why it matters more in Suffolk County than almost anywhere else.
The stones you see are the last thing that goes in. Everything that determines how long your patio lasts — whether it settles, whether it drains properly, whether it survives Long Island’s freeze-thaw winters — is decided in the ground beneath them. According to the Interlocking Concrete Pavement Institute, incorrect base preparation is responsible for roughly 80% of paver project failures. That’s not a minor detail. It’s the whole ballgame.
A proper paver patio installation starts with site assessment and drainage planning, then excavation, then base construction, then the pavers themselves. Each step depends on the one before it. Skip or rush any of them, and the finished surface will look fine on day one and start telling a different story by year two or three.
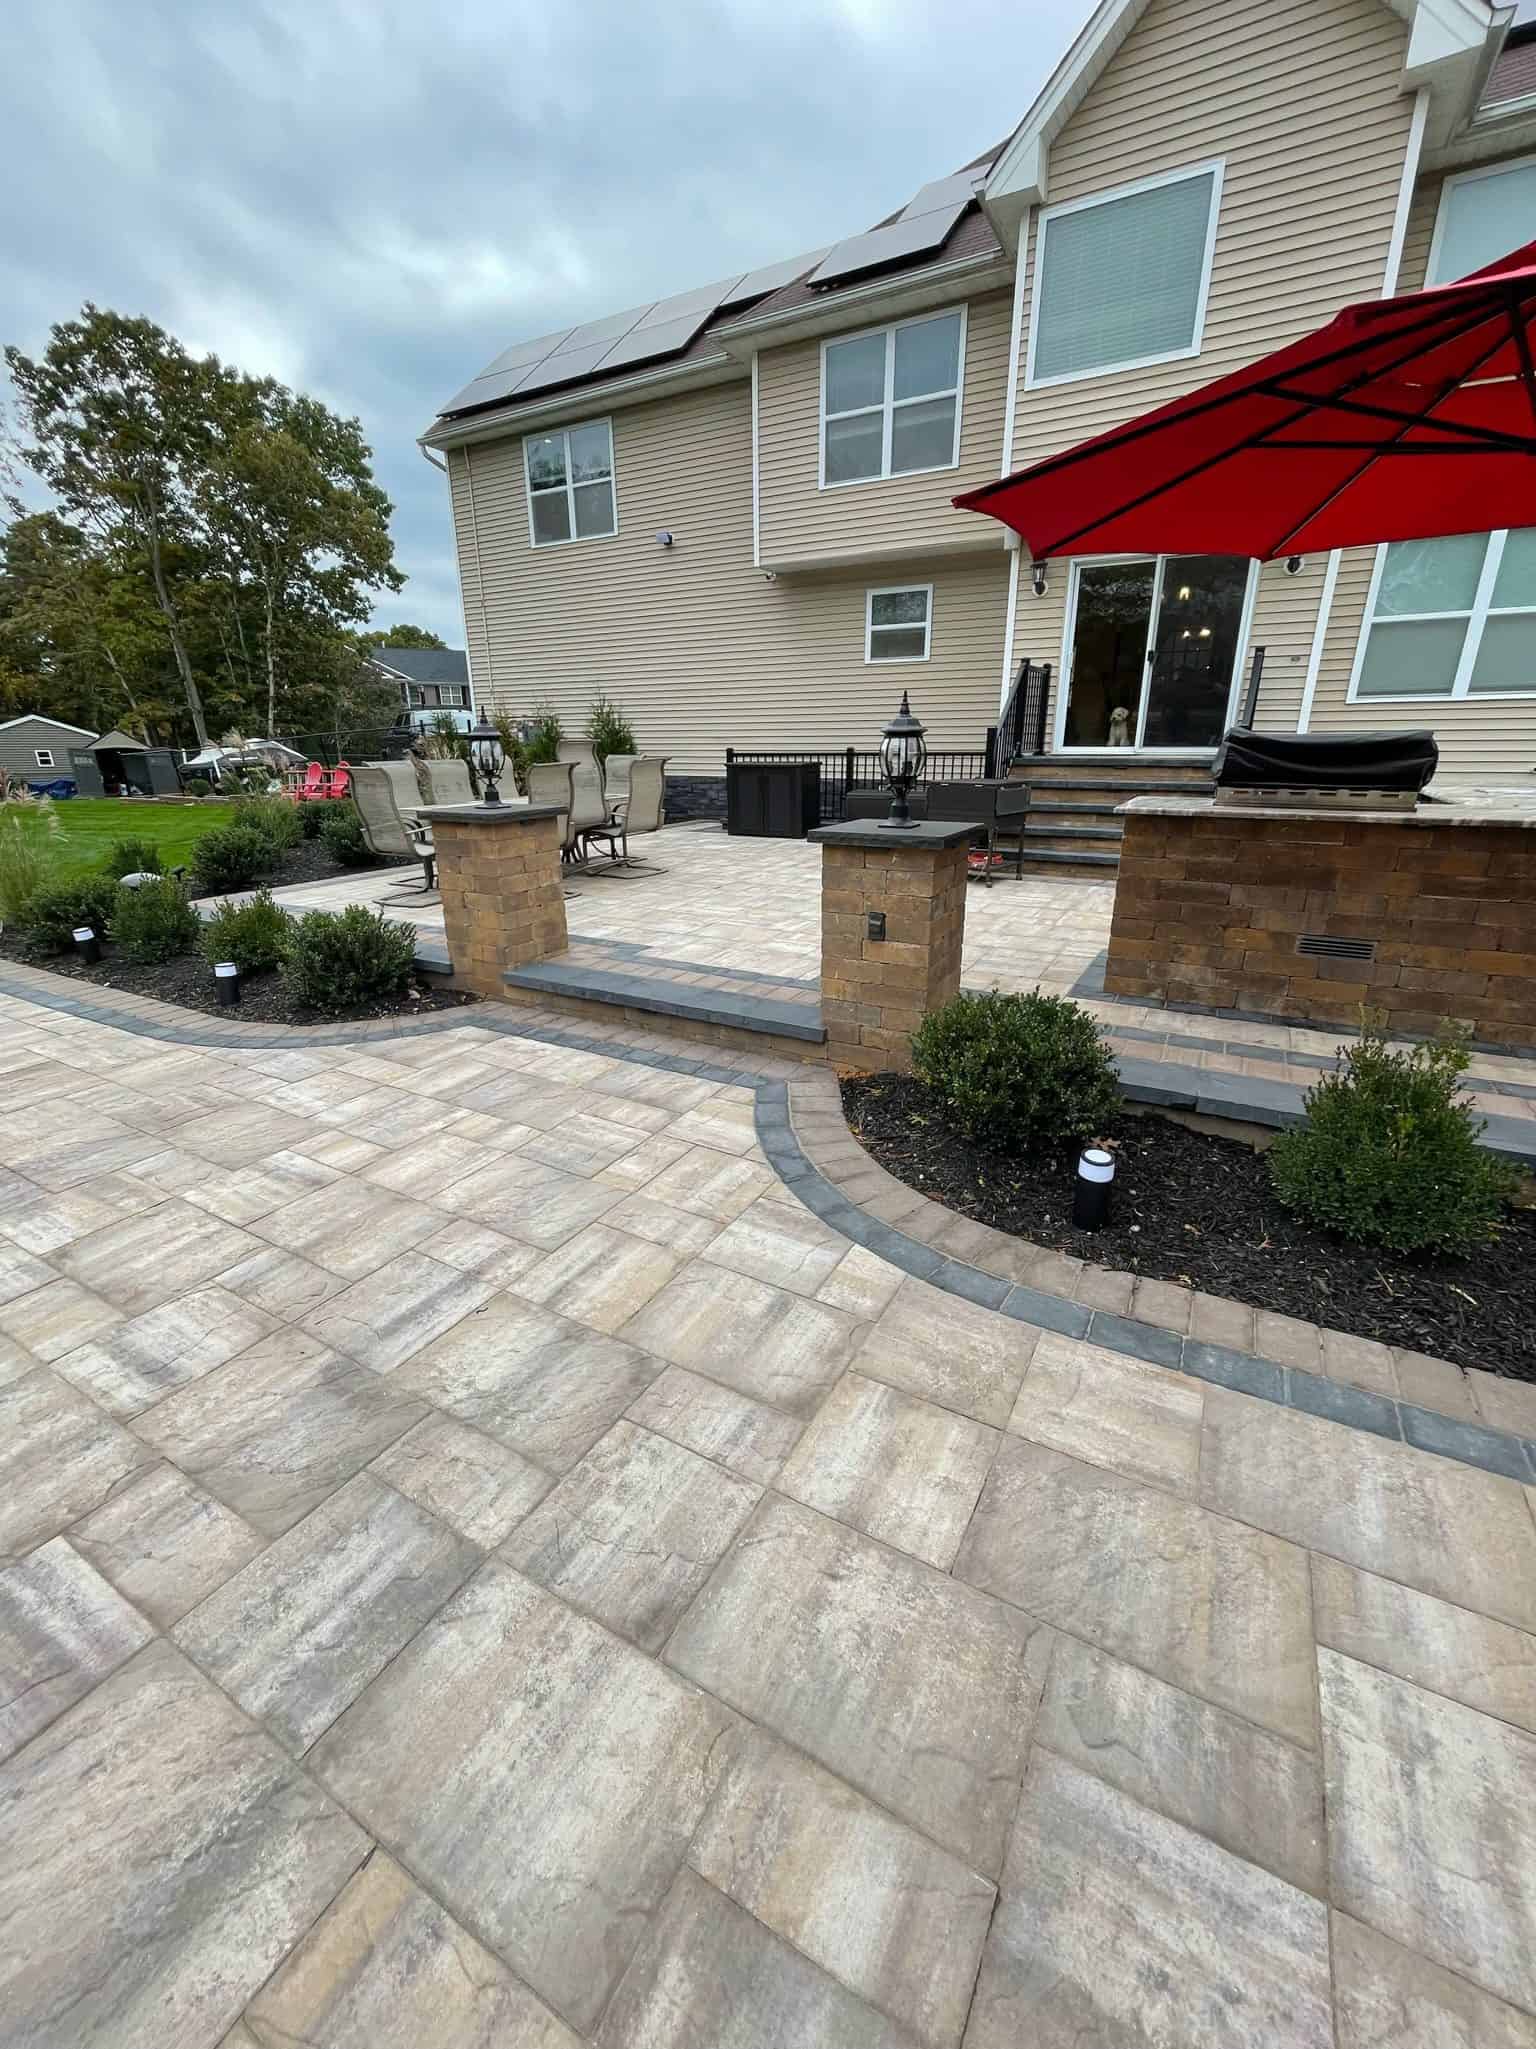
This is where most shortcuts happen, and it’s the one homeowners are least likely to catch. The standard excavation depth for a residential paver patio is 8 to 10 inches — deep enough to accommodate a compacted gravel base, a layer of bedding sand, and the pavers themselves, with room for proper drainage slope.
Many contractors dig 4 to 6 inches and call it done. In a mild climate with stable soil, that might hold for a while. In Suffolk County, it’s a problem waiting to happen. Much of the county sits on glacially deposited, sandy soil — the kind of outwash plain geology you find across Brookhaven, Coram, Medford, and Holbrook. Sandy soil drains quickly, which sounds like a benefit, but it also shifts. It compresses unevenly. It doesn’t hold a shallow base the way denser soil might. When the ground freezes and thaws repeatedly between November and March, a shallow base moves — and the patio moves with it.
That’s why we excavate to 8 to 10 inches on every project. It’s not a premium upgrade. It’s the baseline for building something that actually holds up here. After excavation, we compact the soil subgrade, then install 4 to 6 inches of crushed stone base, compacted in layers with a plate compactor. Over that goes roughly an inch of coarse bedding sand, screeded level before any pavers are placed. Each layer has a specific function, and each one needs to be done right before the next begins.
The other thing that gets decided during excavation is drainage slope. A properly graded patio pitches away from the house — approximately 1 inch for every 4 to 8 feet of surface. That slope has to be built into the base, not corrected after the fact. In areas along the South Shore and in communities with higher water tables, drainage planning isn’t optional. Water that pools under pavers freezes, expands, and destroys the base from below. We plan for drainage before we dig, not after we’ve already laid stone.
Once the pavers are laid, two finishing steps separate a well-built patio from one that gradually comes apart: edge restraints and polymeric sand. Neither is glamorous. Both are critical.
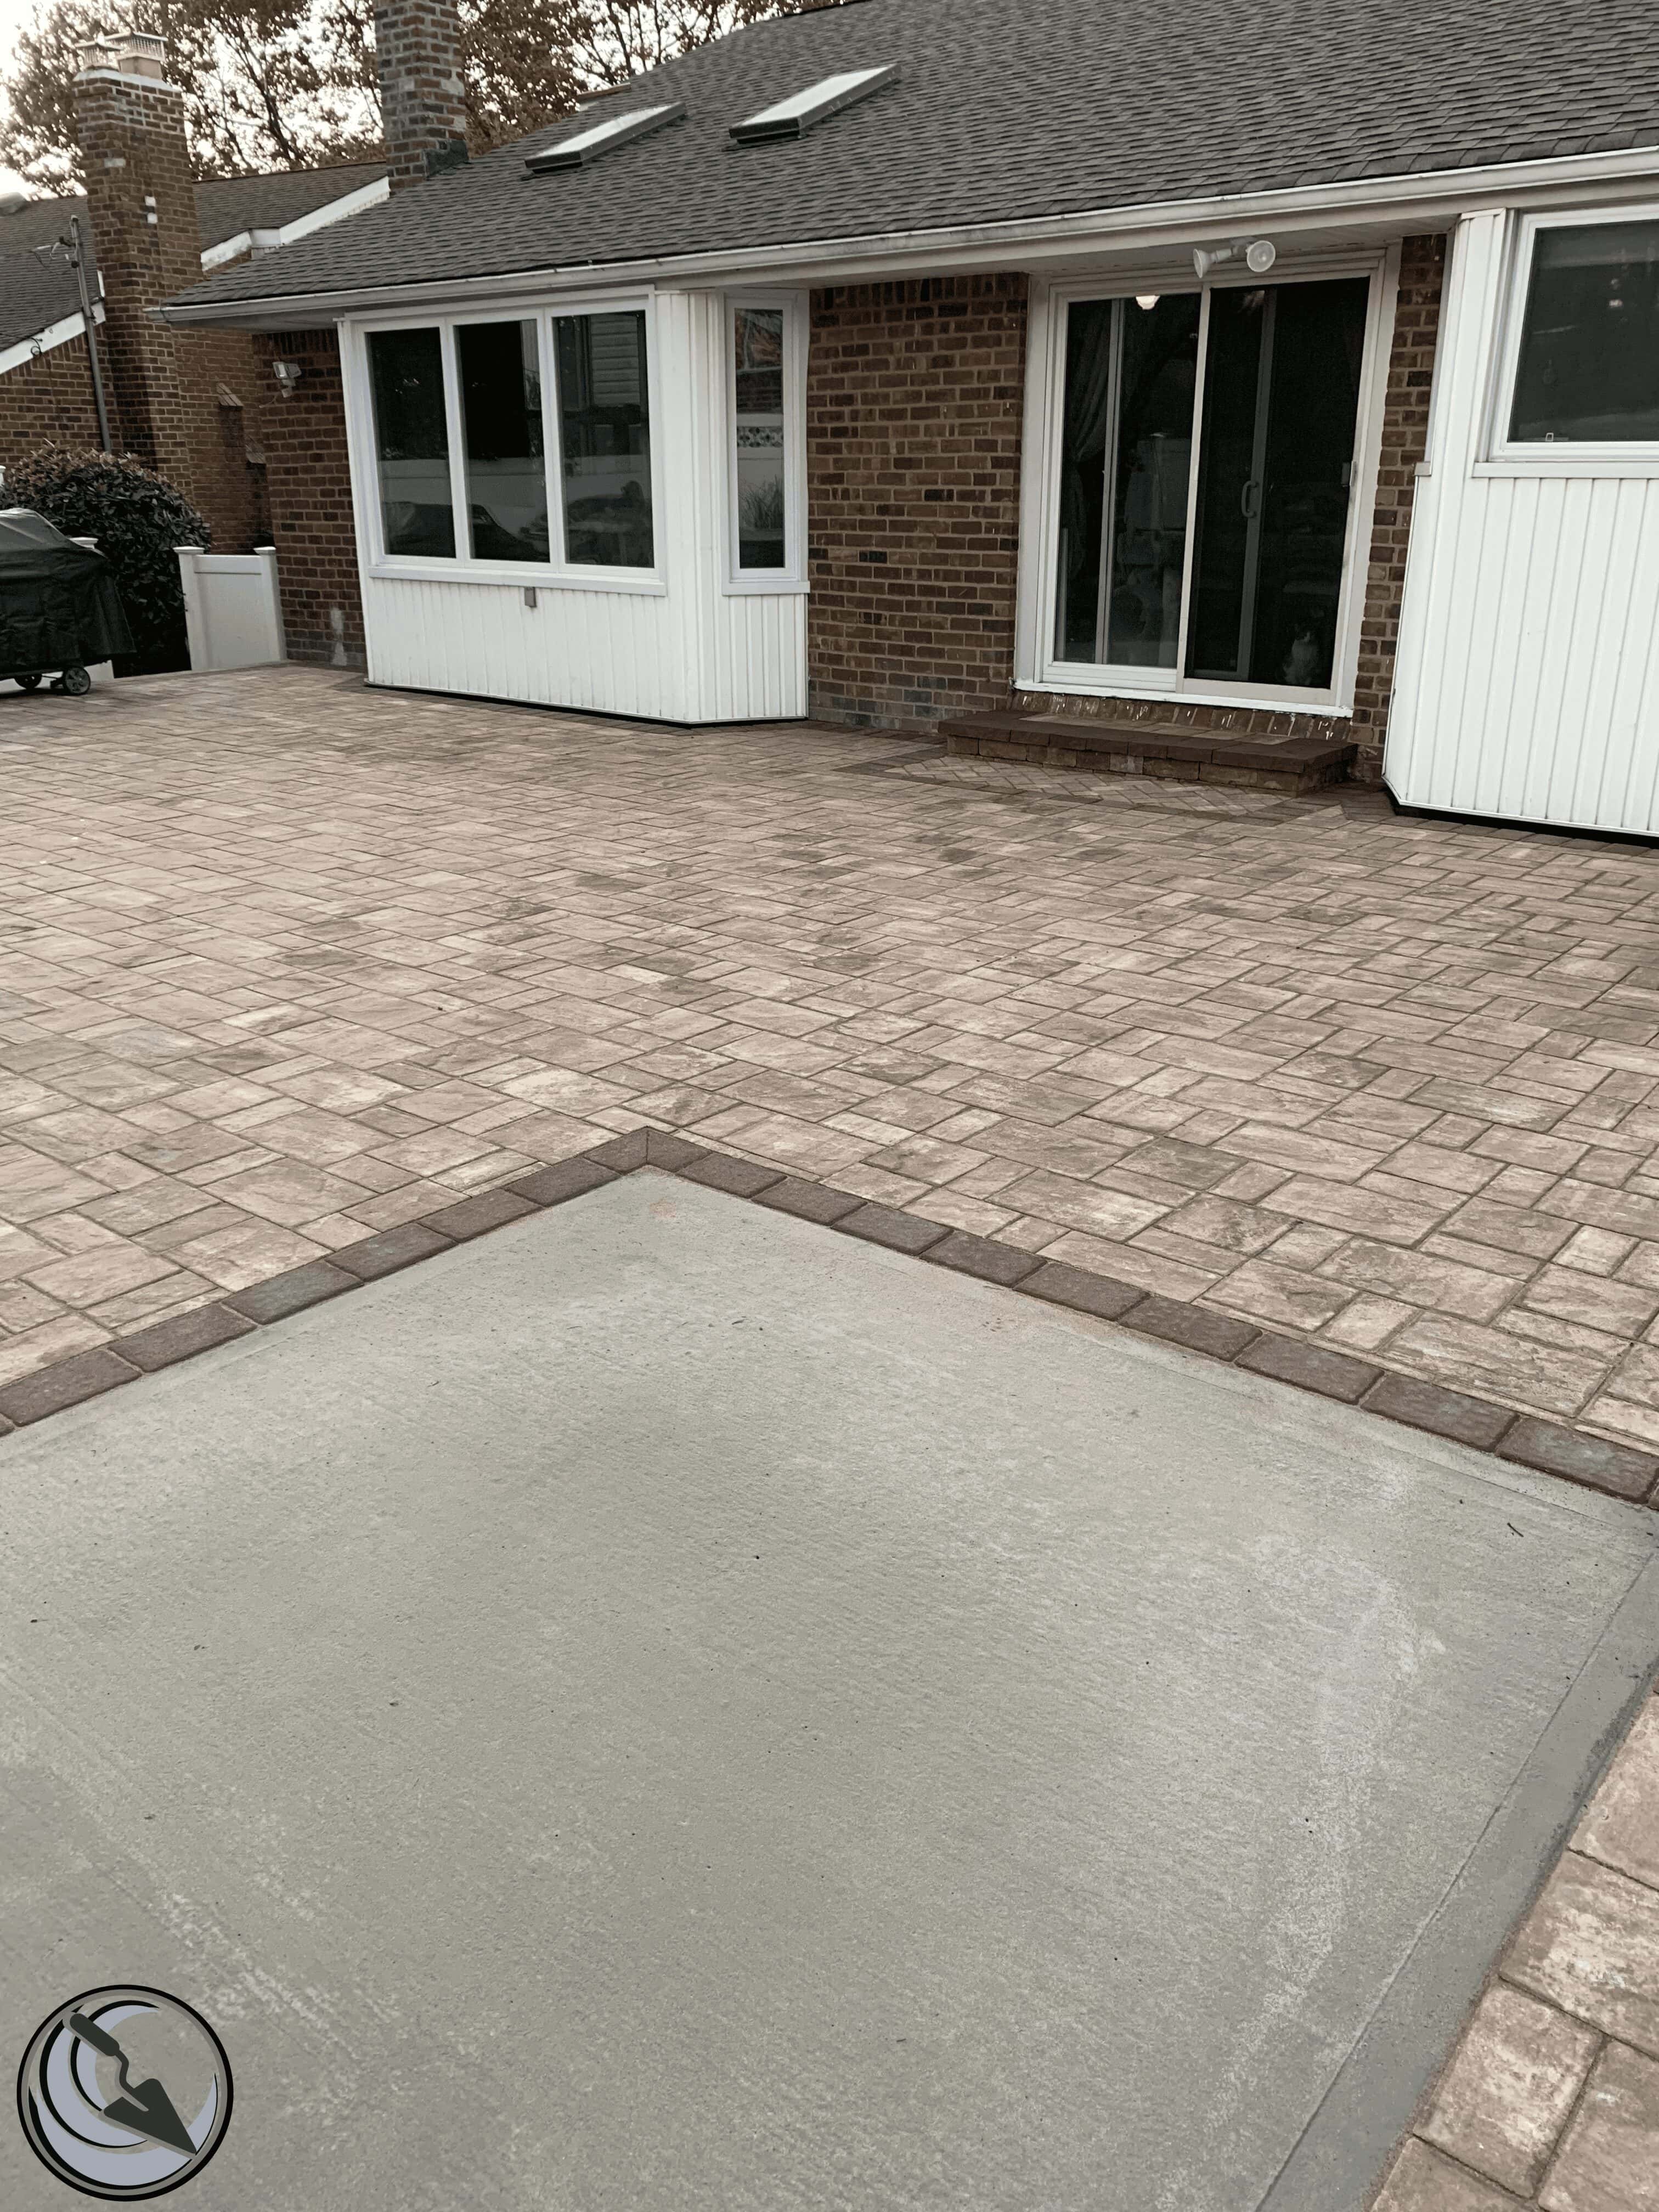
Edge restraints are installed along the perimeter of the patio to prevent the outermost pavers from migrating outward over time. Without them, the natural forces of foot traffic, ground movement, and freeze-thaw cycling push the edges of the patio slowly apart. You’ve probably seen this — a patio where the border stones have drifted slightly, leaving gaps and a surface that rocks when you step on it. That’s what happens when edge restraints are skipped or installed incorrectly. Properly installed, they lock the perimeter in place and keep the entire surface tight for decades.
Polymeric sand is swept into the joints between pavers after installation and then activated with water. It hardens into a flexible, semi-rigid bond that resists washout, discourages weed growth, and helps keep the surface locked together. Standard sand washes out over time — especially in Suffolk County’s coastal communities where rain and wind are consistent factors. Polymeric sand holds. It’s not permanent forever, but with proper maintenance it lasts significantly longer than plain jointing sand.
After the polymeric sand is set, the finished surface gets a final pass with a plate compactor. This seats the pavers into the bedding sand, ensures consistent contact across the entire surface, and eliminates any minor high spots that developed during installation. It’s a step some crews skip when they’re rushing to finish — and you can usually tell by the way the surface feels underfoot within the first year.
Together, these finishing steps close the loop on a properly built patio. The excavation and base determine whether it holds structurally. The edge restraints and polymeric sand determine whether it holds together visually and functionally over years of real use.
Professional paver patio installation in Suffolk County typically runs $30 to $45 per square foot, inclusive of excavation, base preparation, materials, and installation. That range reflects real variation in material selection, design complexity, site conditions, and project scope — not just contractor markup.
What it doesn’t account for is the low-end quotes that fall well below that range. Those quotes exist, and they’re usually a sign that something is being cut — excavation depth, base material quality, edge restraints, or drainage planning. The problem is that a patio built on a compromised base looks identical to a properly built one on day one. The difference shows up in year two or three, after the first few hard winters have done their work.
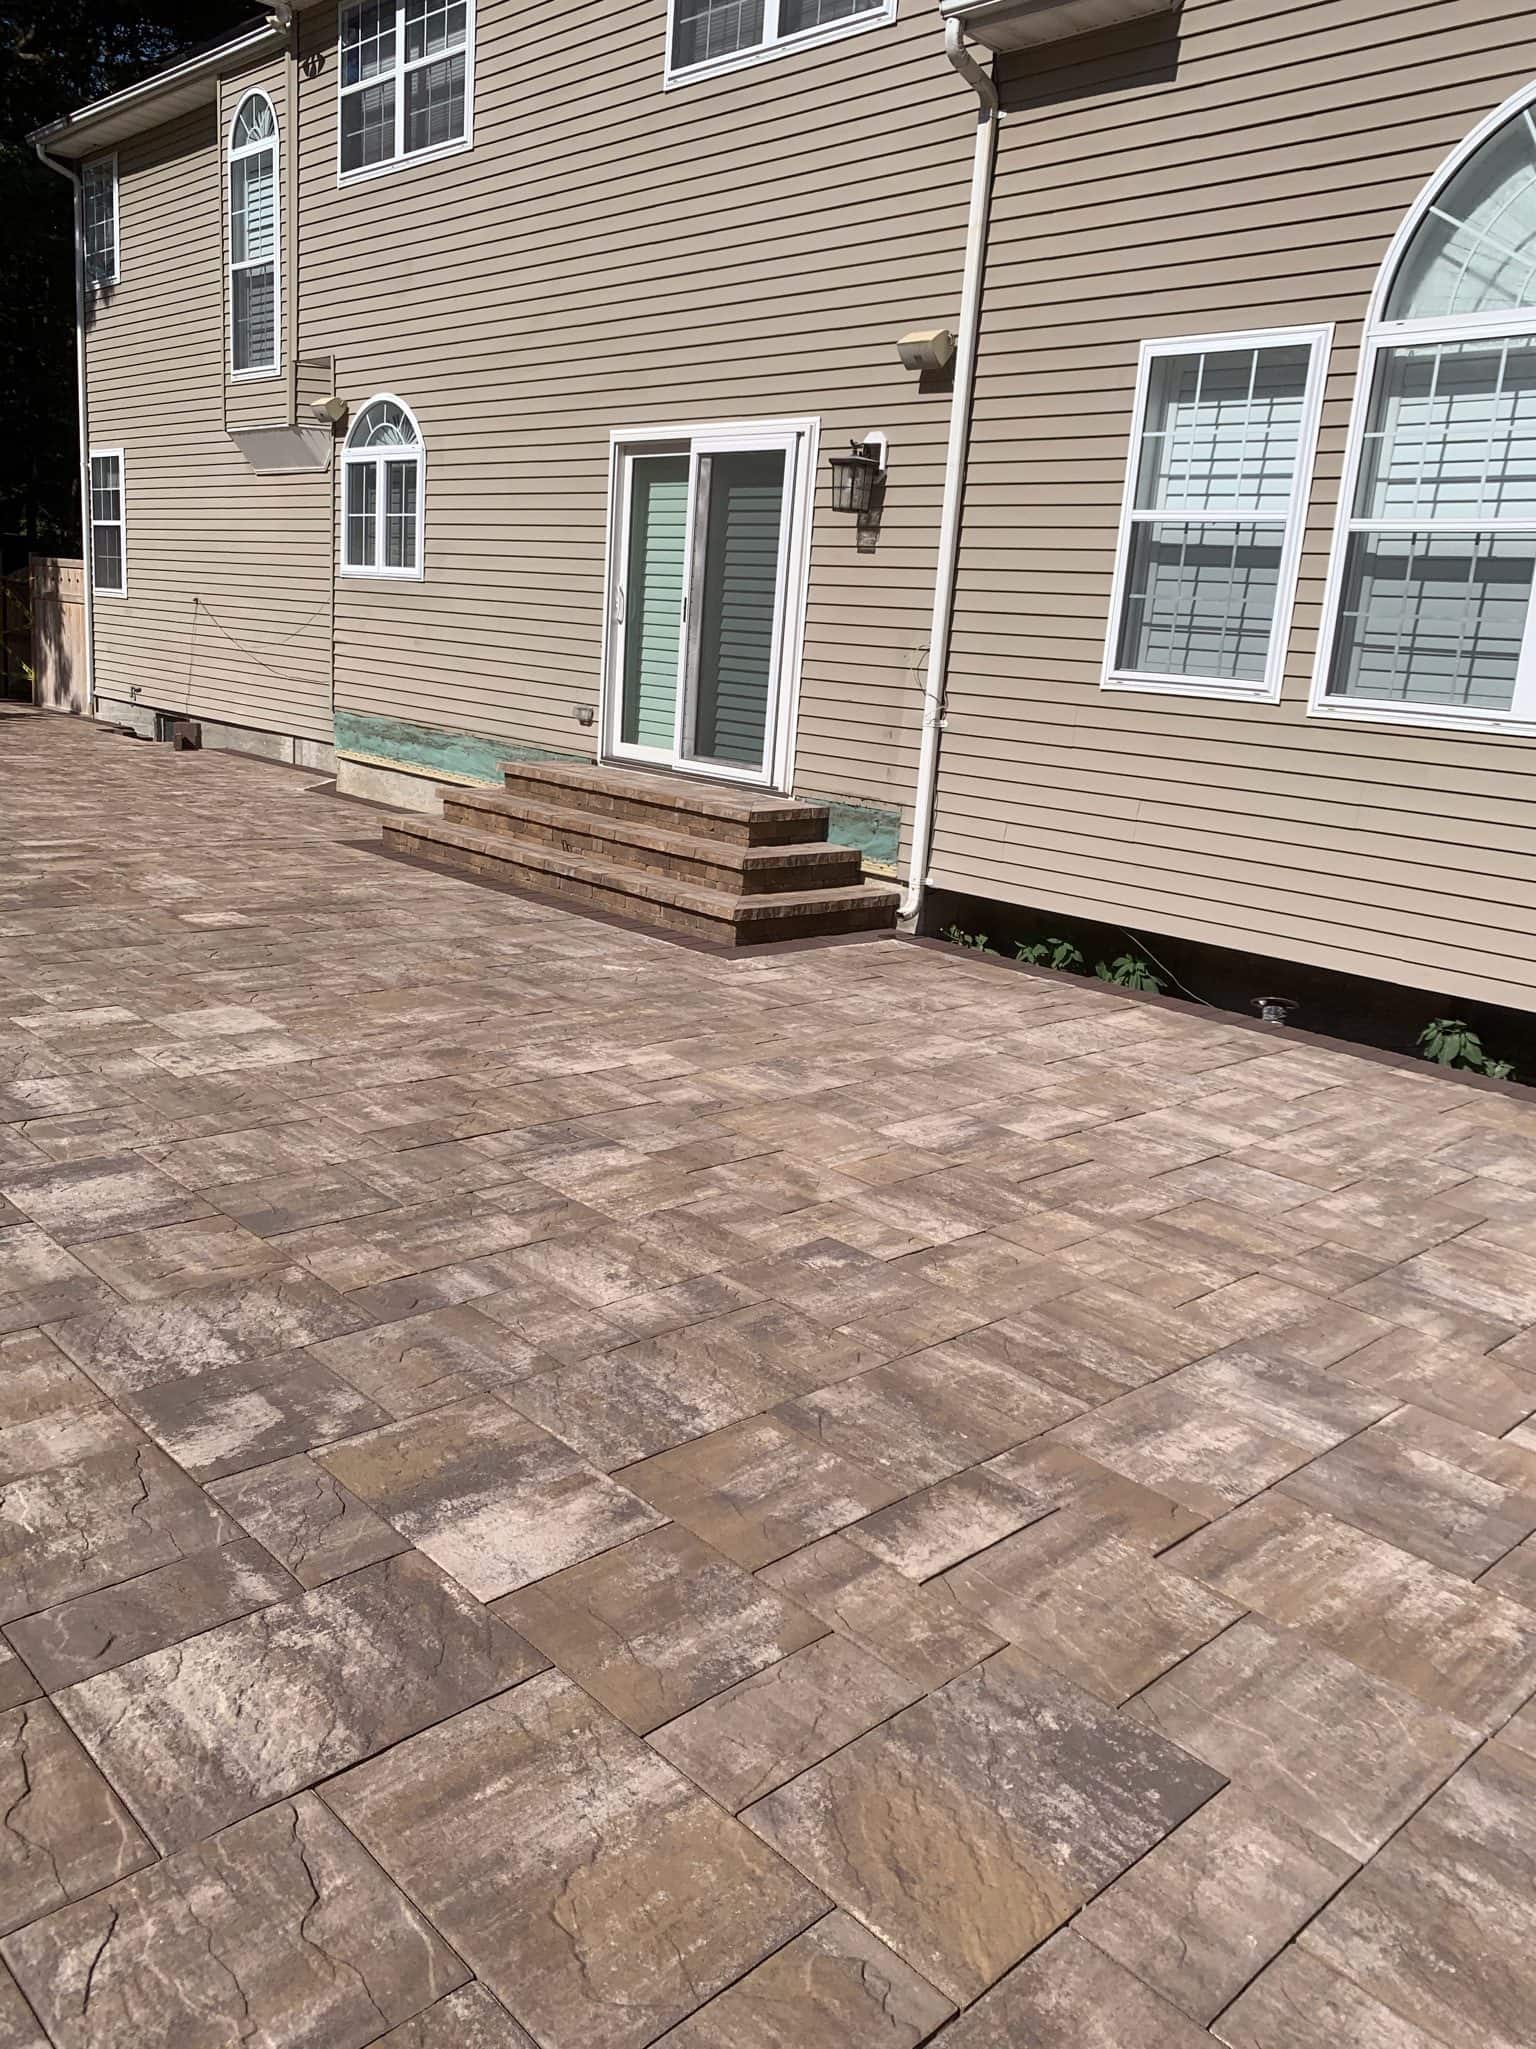
Brick pavers are one of the most requested materials for residential patios on Long Island — and for good reason. They’re durable, they age well, and they have a classic look that holds up across different architectural styles. But the material itself is only part of the equation. How brick pavers are installed matters just as much as which ones you choose.
Traditional clay brick pavers are porous, which means they absorb moisture. In Suffolk County’s climate, that porosity becomes a liability if the base beneath them isn’t built to drain properly. Water that gets absorbed and then freezes expands — and that expansion, repeated over multiple winters, causes surface spalling and cracking. Concrete pavers from manufacturers like Cambridge, Techo-Bloc, Unilock, and Nicolock are engineered with much lower absorption rates, which is one reason they’ve largely replaced traditional clay brick in high-quality residential installations here. They’re also available in styles that closely replicate the look of traditional brick, without the freeze-thaw vulnerability.
Regardless of material, the installation process is the same: proper excavation, compacted gravel base, bedding sand, edge restraints, polymeric sand, and final compaction. What changes is the handling — concrete pavers have specific cutting and fitting requirements, and manufacturer-certified installers are trained on the tolerances and techniques each product line requires. We hold certifications from Cambridge, Techo-Bloc, Unilock, Nicolock, Eldorado, and Boral. Those certifications aren’t marketing credentials — they require technical training and demonstrated installation competency. They’re one way to verify that a contractor actually knows how to work with the materials they’re proposing to install.
One more thing worth knowing: the pattern you choose affects installation time and complexity. Running bond and herringbone patterns are common for patios; herringbone in particular provides excellent interlock strength and is often recommended for high-traffic areas. More intricate patterns with multiple border courses take longer and require more precision — which is worth factoring into your timeline and budget expectations before you sign anything.
Most homeowners get two or three quotes and then spend a week trying to figure out why they’re so different. The prices vary. The proposed materials vary. One contractor mentions base preparation; another doesn’t bring it up at all. It’s hard to compare them when you’re not sure what questions to ask.
Here’s a useful starting point: ask every contractor how deep they excavate and what base material they use. If they can’t answer that specifically — or if they say 4 to 6 inches without explaining why that’s sufficient for Suffolk County’s sandy soil — that’s information. A contractor who understands Long Island’s soil and climate conditions should be able to explain their base preparation process without hesitation, because it’s the part of the job that actually determines longevity.
Licensing matters in ways that aren’t always obvious. New York doesn’t issue a single statewide masonry license — licensing is handled at the county and municipal level. A contractor who’s licensed in Suffolk County may not be licensed to work in Southampton or East Hampton. We hold active licenses in Suffolk County (#HI-62761), Nassau County (#167041), Southampton (#L005914), and East Hampton (#9808). If you’re in the Hamptons or anywhere along the East End, that’s worth confirming with whoever you hire.
Manufacturer certifications are another signal that’s easy to verify and often overlooked. Cambridge, Techo-Bloc, Unilock, and Nicolock all maintain certified installer programs — contractors have to complete training and meet installation standards to hold those credentials. They’re not handed out freely. Asking a contractor which manufacturers they’re certified with, and then verifying it, takes five minutes and tells you a lot.
Finally, ask who will actually be on site. The difference between an owner-operated business and a company that hands your job to a subcontracted crew after the estimate is signed is real. Owner Iain Traynor handles every estimate personally and remains involved through execution — and the same crew works your project from start to finish. That’s not a standard operating model in this industry. When you’re committing $15,000 to $30,000 or more to a project, knowing exactly who’s building it matters.
A paver patio built correctly — with proper excavation, a compacted gravel base, drainage slope, edge restraints, and polymeric sand — should last 30 years or more. That’s not a marketing claim. It’s what the Interlocking Concrete Pavement Institute documents for professionally installed paver systems. The catch is that “built correctly” isn’t guaranteed by price, by how a contractor presents themselves, or by how good the finished surface looks on the day they leave.
Suffolk County’s sandy soil, coastal moisture, and freeze-thaw winters are unforgiving. They expose shortcuts that would hold up fine in other markets. The investment you’re making deserves a process that’s built for where you actually live — not a generic approach that works well enough somewhere else.
If you’re ready to talk through what your project actually needs, Stone Escapes Masonry & Outdoor Design Inc offers free in-person estimates scheduled directly with the owner. No phone quotes, no automated systems — just a straight conversation about your site, your goals, and what it takes to build something that lasts.
Article details:
Share:
Continue learning: