Discover how to design an outdoor kitchen that works for both weeknight dinners and weekend entertaining—with materials built to last through Long Island's seasons.
Share:
Summary:
An outdoor kitchen isn’t just a grill with some counter space next to it. It’s a cooking area that needs to flow like your indoor kitchen does—except it’s exposed to weather, farther from your pantry, and used differently. When you’re entertaining, you’re not just cooking. You’re hosting, talking, pouring drinks, and trying to keep an eye on everything at once.
Functionality starts with layout. You need enough room to move, prep, and serve without feeling cramped. Most people underestimate how much counter space they’ll actually use when they’re cooking for a group. You also need to think about where your guests will stand or sit, and whether you’ll have your back to them the entire time you’re grilling. That matters more than you’d think.
The goal is to create zones: one for cooking, one for prepping, one for serving, and ideally one for people to gather without getting in your way. When those zones work together, the whole space works. When they don’t, you’ll feel it every time you use it.
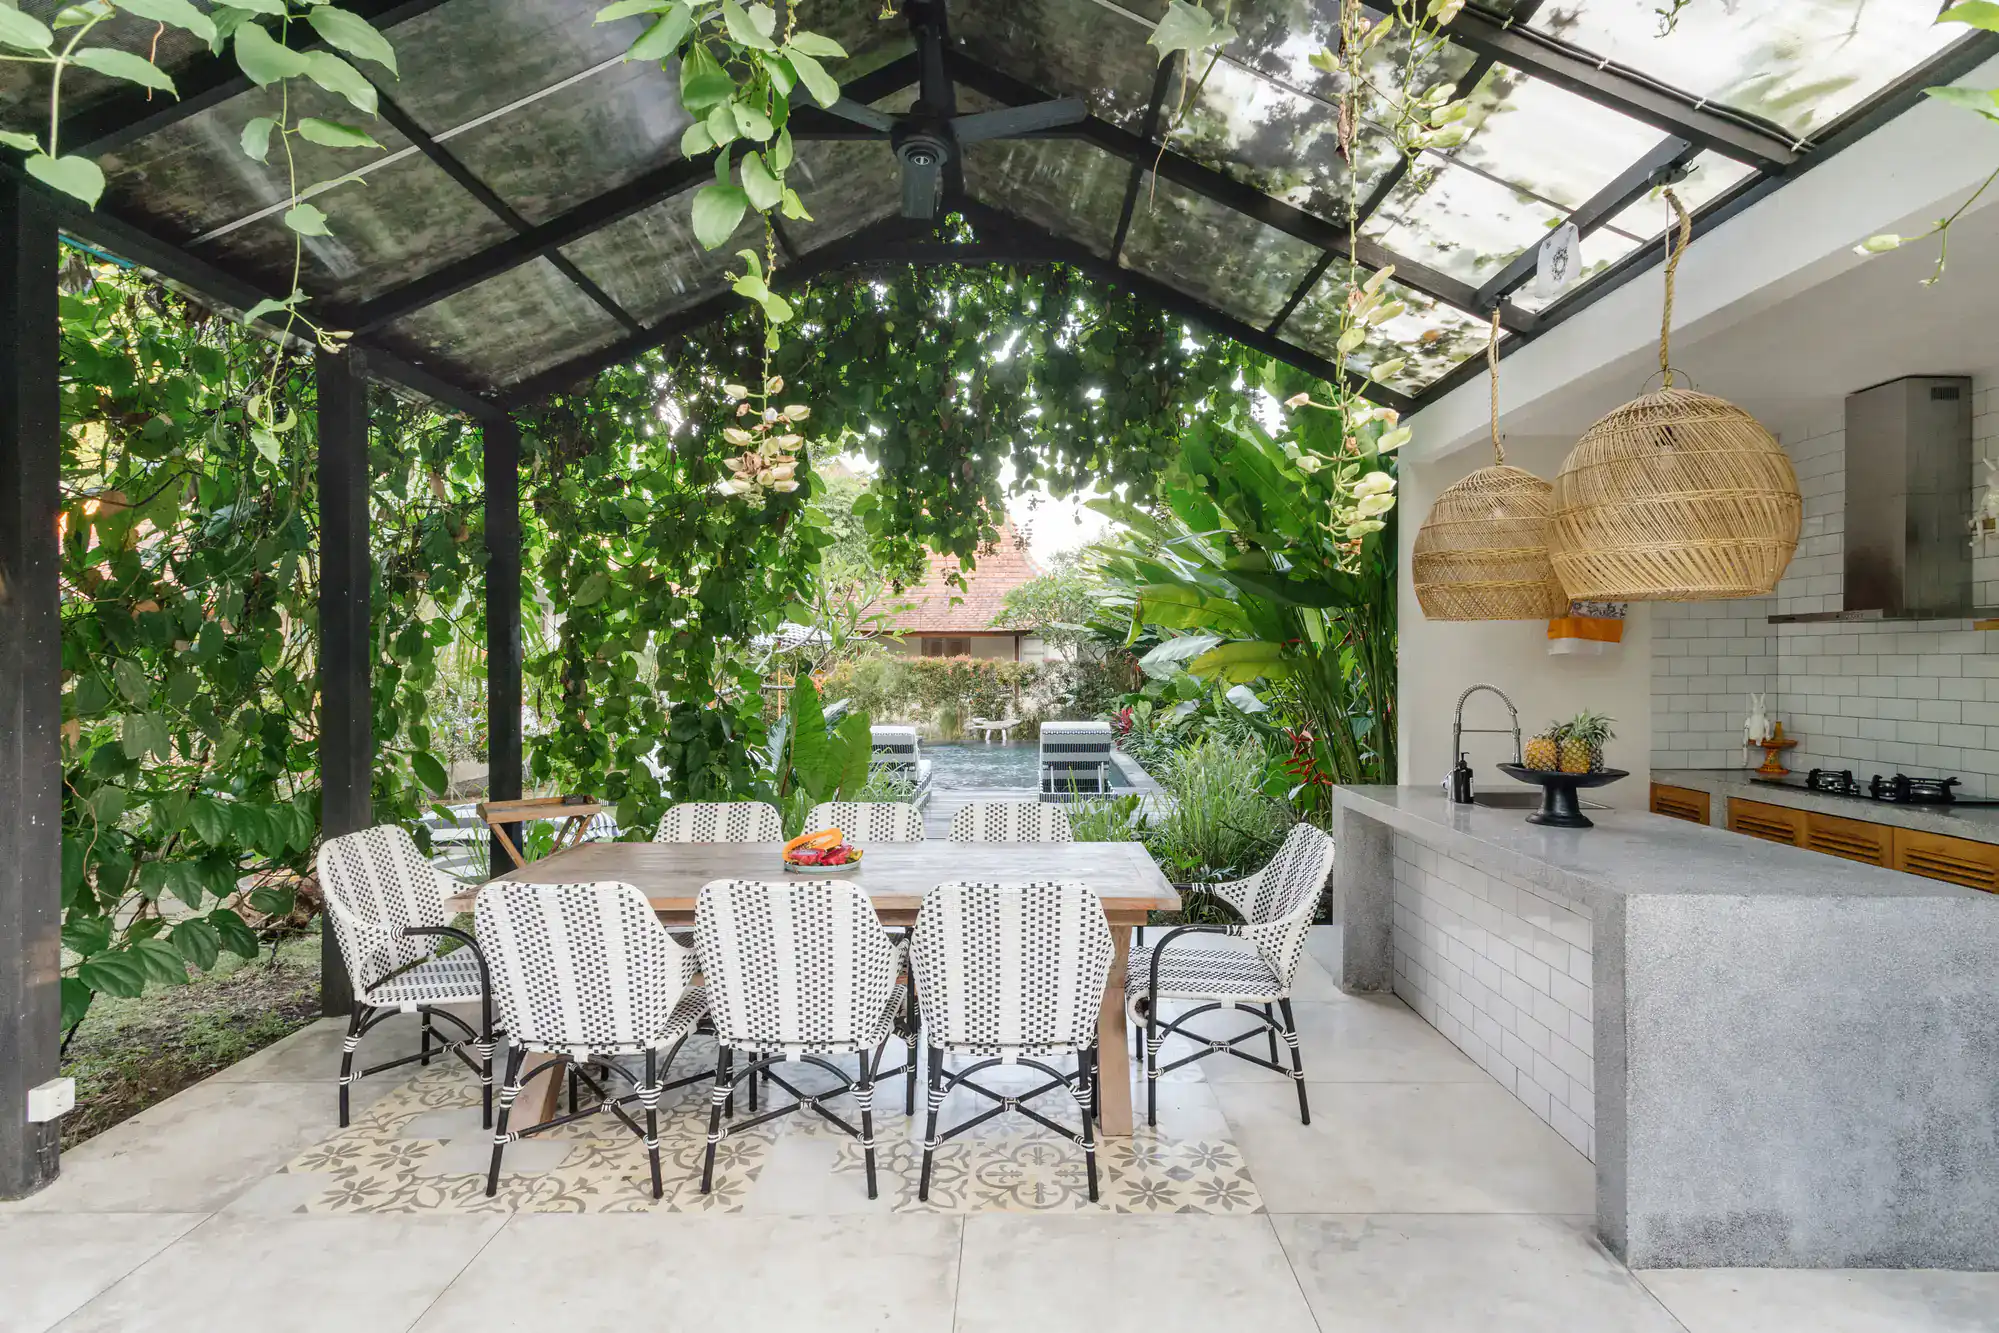
Layout determines everything. Get it wrong, and you’ll spend the next decade wishing you’d done it differently. Get it right, and your outdoor kitchen becomes one of the most-used spaces on your property.
Start by thinking about proximity to your house. You want to be close enough to access water, gas, and electrical lines without running them halfway across your yard. But you also don’t want smoke blowing directly into your living room or your kitchen blocking a view you actually enjoy. Balance matters here.
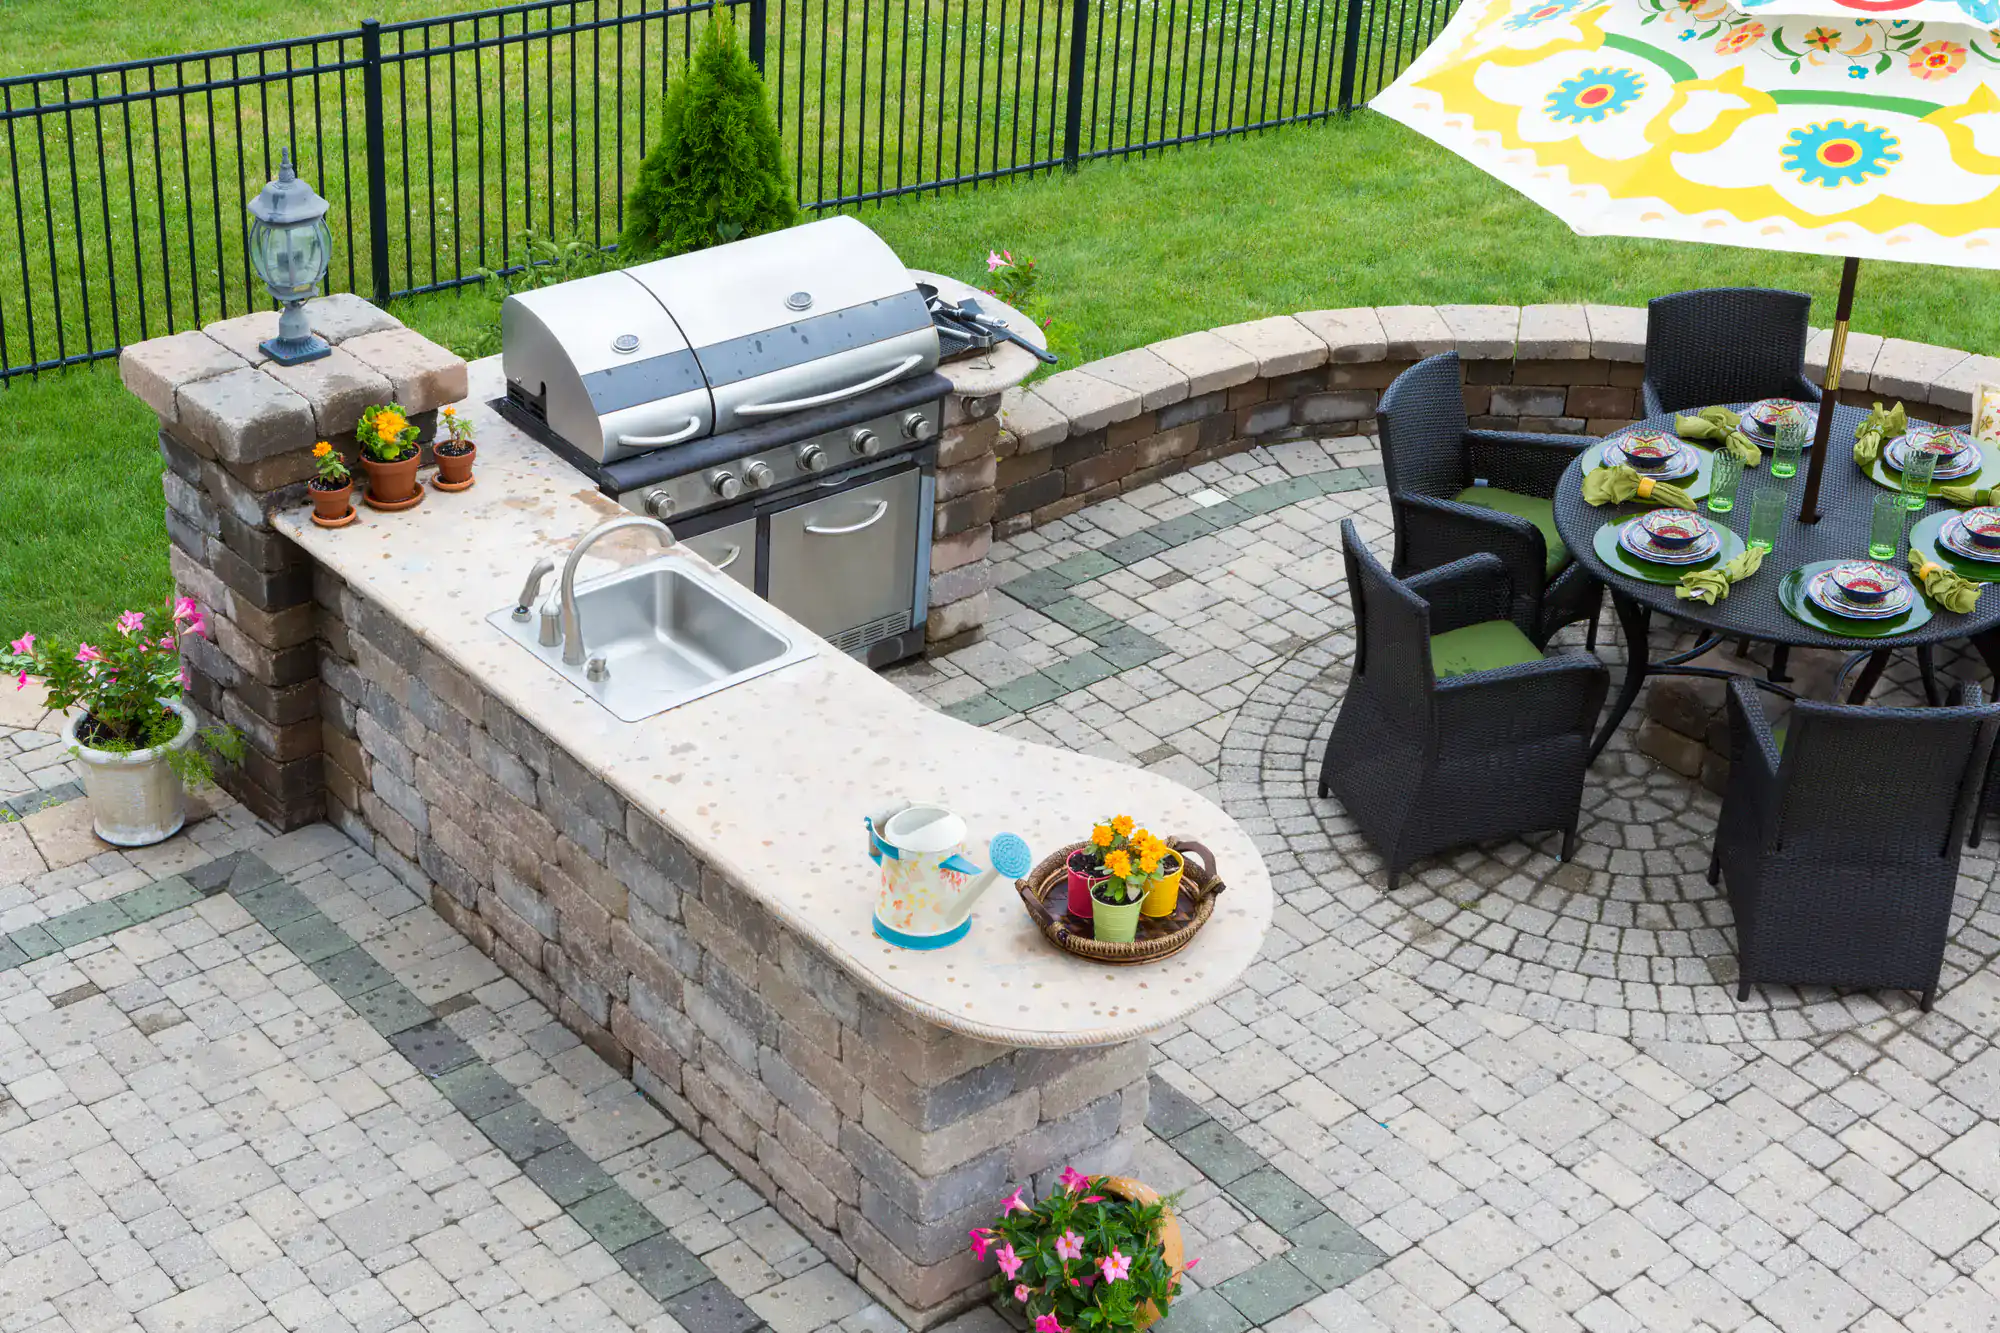
L-shaped and U-shaped layouts are popular in Suffolk County for good reason. They create natural work zones while keeping everything within reach. An L-shape works well if you’re working with a corner of your patio or want to leave one side open for foot traffic. A U-shape gives you more counter space and can include seating on one side, so guests can sit across from you while you cook.
Island layouts are another option if you have the space. They let you face outward toward your yard or pool area, which keeps you part of the conversation. Just make sure you’re not creating a traffic bottleneck—people need to move around the island comfortably, especially when you’re hosting.
Think about the work triangle concept from indoor kitchens: your grill, sink, and refrigerator should form a triangle that’s easy to navigate. If those three elements are too far apart, you’ll waste time and energy moving between them. If they’re too close, you’ll feel cramped. Most designers recommend keeping the total distance between these three points under 26 feet.
Don’t forget about sun and wind. If your grill is facing west, you’ll be squinting into the sunset during most summer dinners. If it’s in a wind tunnel, your flames won’t stay consistent. Small details like these matter more than you’d think when you’re using the space regularly.
Finally, consider how the space connects to the rest of your backyard. Does it flow naturally from your patio? Is there a clear path from your back door? Will it integrate with your pool area or fire pit if you add those later? Your outdoor kitchen shouldn’t feel like an island—it should feel like part of a bigger outdoor living design.
Appliances are where budgets can spiral, so it helps to be honest about what you’ll actually use. Start with the essentials, then add features that match how you cook and entertain.
A quality built-in grill is non-negotiable. This isn’t the place to go cheap. You’re building it into a structure, so swapping it out later is expensive and inconvenient. Look for stainless steel construction, multiple burners for heat control, and a BTU output that matches the size of your cooking surface. Brands that offer outdoor-rated models with solid warranties tend to hold up better in Long Island’s climate.
Outdoor refrigeration is next on most people’s list, and for good reason. Keeping drinks, condiments, and ingredients within arm’s reach eliminates trips inside and keeps you part of the action. Make sure whatever unit you choose is actually rated for outdoor use—indoor fridges aren’t built to handle temperature swings, humidity, or coastal salt air.
A sink changes the game if you’re serious about cooking outside. You can rinse vegetables, fill pots, wash your hands, and clean up as you go. It does require plumbing, which adds cost and complexity, but the convenience is hard to beat once you have it. Most homeowners who skip the sink initially end up wishing they’d included it.
Side burners give you flexibility for sauces, sides, or anything that doesn’t belong on the grill. Pizza ovens have become more popular, and they’re worth considering if you’ll use them regularly—not just for pizza, but for bread, roasted vegetables, or anything that benefits from high, even heat.
Storage matters more than people think. Drawers and cabinets keep your tools, utensils, and supplies organized and protected from the elements. Weather-resistant cabinetry designed for outdoor use will last longer than something repurposed from an indoor kitchen. Plan for more storage than you think you need—you’ll fill it.
Don’t overlook lighting. Most outdoor cooking happens in the evening, and you need to see what you’re doing. Under-counter lights, overhead fixtures, or even well-placed landscape lighting can make the space usable after dark. Good lighting also creates ambiance and makes the space feel intentional, not just functional.
One more thing: not all appliances are rated for outdoor use, even if they look like they should be. Check specs carefully. Long Island winters, coastal salt air, and summer humidity will destroy anything that’s not built to handle them. Outdoor-rated doesn’t just mean weather-resistant—it means the components, seals, and finishes are designed for exposure.
Long Island weather isn’t gentle. You’ve got freeze-thaw cycles in winter, coastal moisture year-round, and sandy soil that doesn’t always drain the way you’d hope. The materials you choose need to handle all of it without cracking, warping, or falling apart after a few seasons.
Stainless steel is the standard for outdoor appliances because it resists rust and corrosion better than most alternatives. For countertops, granite and natural stone are popular because they’re heat-resistant, durable, and hold up well outdoors. They do need to be sealed periodically, but that’s manageable. Avoid porous materials that absorb moisture—they won’t last.
For the structure itself—the base and framework—you want materials that won’t shift, rot, or corrode. Concrete, masonry, and high-performance materials rated for outdoor use are your best options. Wood and basic metal frames might seem cheaper upfront, but they don’t last in this climate. Coastal salt accelerates rust. Moisture causes wood to warp and rot. Freeze-thaw cycles crack anything that’s not built to flex.
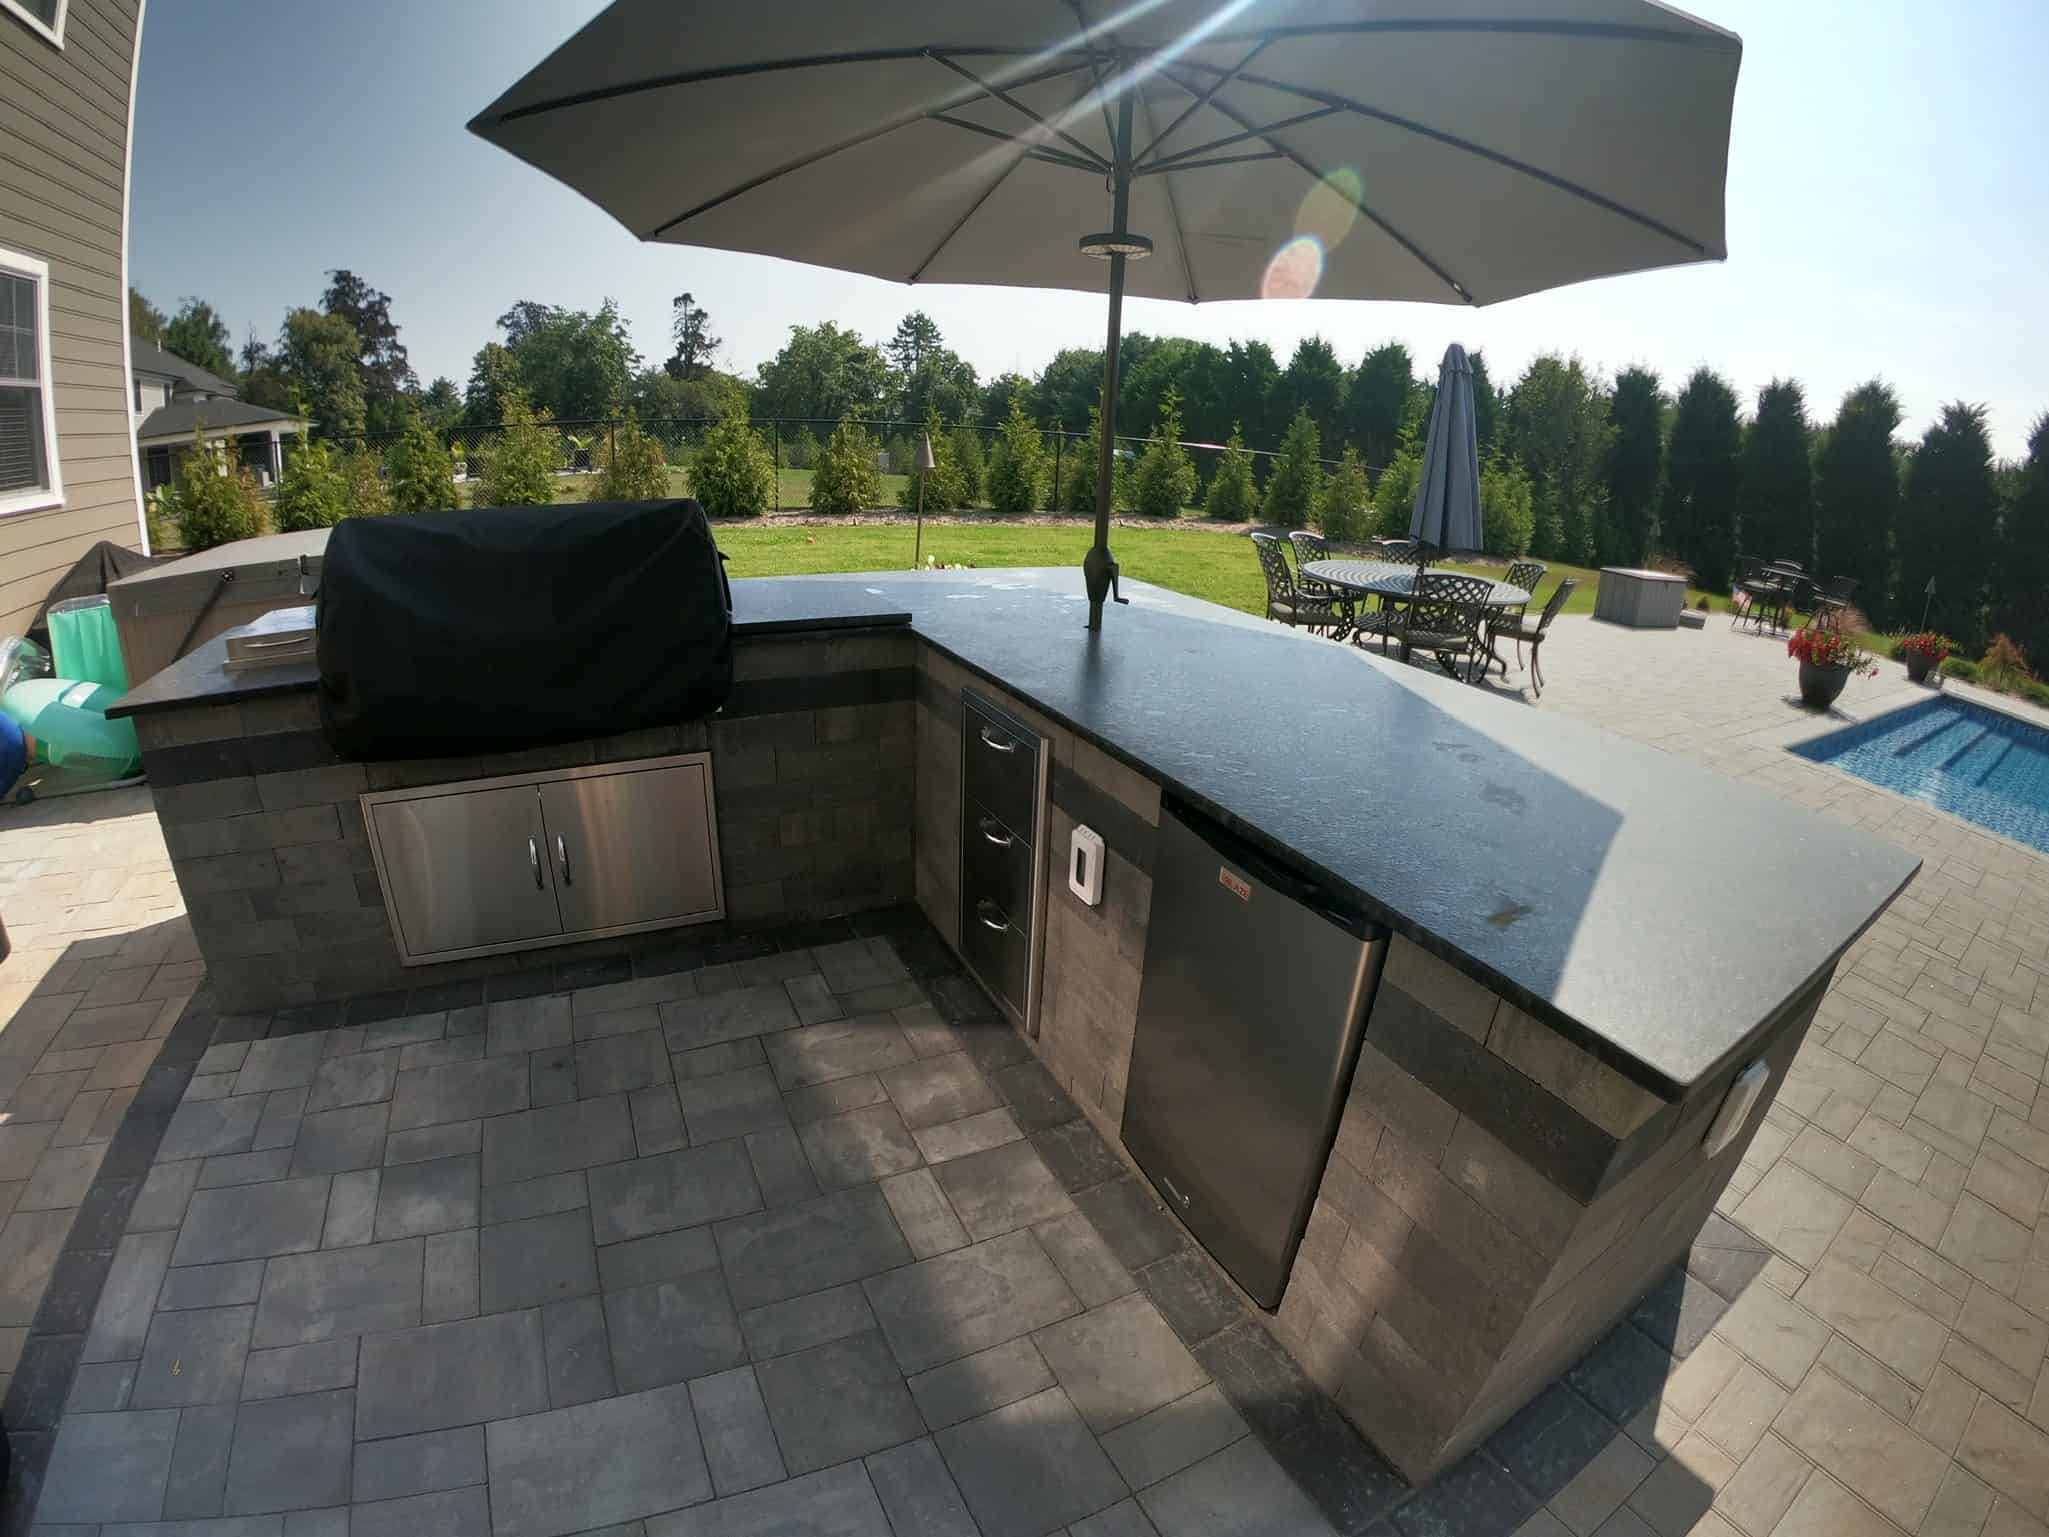
This part isn’t glamorous, but it’s critical. Suffolk County’s sandy soil drains differently than other areas, and if your outdoor kitchen isn’t built on a solid, well-drained base, you’ll deal with shifting, cracking, and water damage. This is where experience with local conditions makes a real difference.
Proper preparation starts with excavation—usually 8 to 10 inches deep—followed by layering a compacted base material that creates a stable foundation. Drainage planning comes next. Water needs somewhere to go, and if it pools around your kitchen, it’ll undermine the structure over time. In areas with sandy soil, drainage systems need to account for how water moves through and around the site.
Edge restraints help keep pavers and stones in place, reducing the risk of shifting as the ground freezes and thaws. This is especially important on Long Island, where winter temperatures drop below freezing regularly. Without proper restraints, you’ll see movement, gaps, and uneven surfaces within a few years.
Most homeowners don’t think about this stuff until something goes wrong. By then, repairs are expensive and disruptive. Getting it right from the start—excavation, base, drainage, and restraints—means your outdoor kitchen will stay level and intact for years. It’s not the exciting part of the project, but it’s the part that determines whether everything else holds up.
It’s also worth mentioning that this kind of work requires experience with local conditions. We understand Suffolk County’s soil, moisture levels, and seasonal changes, and we build differently than someone who’s just following a generic plan. That difference shows up in how well your kitchen holds up long-term. If your paver patio is shifting or your retaining wall is leaning, the problem usually starts with the base.
If you’re working with a masonry contractor, ask about their prep process. If they’re skipping steps or can’t explain why they do things a certain way, that’s a red flag. Proper base work takes time and adds cost, but it’s the foundation everything else sits on—literally.
Most outdoor kitchens in Suffolk County require permits, especially if you’re running gas, water, or electrical lines. Townships have different requirements, and skipping this step can create headaches later—whether it’s fines, insurance issues, or problems when you try to sell your home.
Gas lines need to be installed by a licensed professional and inspected to meet code. Same goes for electrical work. If you’re adding a sink, you’ll need plumbing, which means connecting to your water supply and ensuring proper drainage or a tie-in to your sewer or septic system. None of this is DIY territory.
Permitting timelines vary depending on where you are in Suffolk County. Some towns move faster than others. We handle the permit process for you, coordinate inspections, and make sure everything is up to code before the project wraps. That’s part of what you’re paying for—not just the build, but the knowledge and relationships that keep the project moving.
Utilities also affect your layout. If running a gas line to the far corner of your yard is prohibitively expensive, you might need to rethink placement. If your electrical panel is maxed out, you may need an upgrade before you can add outdoor lighting and appliances. These aren’t fun conversations, but they’re necessary ones.
Budget for utility work separately from the kitchen itself. It’s easy to focus on the grill and countertops and forget that getting power, gas, and water to the site can add thousands to the project. Get a clear estimate upfront so there are no surprises. Most outdoor kitchen installations in Suffolk County take 3 to 6 weeks from design to completion, and a good portion of that time involves permits and utility work.
One last thing: if you’re in a neighborhood with an HOA, check their rules before you start. Some have restrictions on outdoor kitchen size, placement, or materials. Finding out after you’ve already planned everything is frustrating and avoidable.
An outdoor kitchen is a long-term investment. Done right, it becomes one of the most-used spaces on your property—not just for big parties, but for weeknight dinners, weekend mornings, and everything in between. The key is planning for how you’ll actually use it, not just how it looks in photos.
Think about layout, appliances, materials, and the prep work that makes it all hold up through Long Island’s seasons. If you’re working with a contractor, choose someone who understands Suffolk County’s climate and soil conditions, and who’ll be there from estimate through final inspection. Direct communication, consistent crews, and hands-on involvement make a difference when problems come up or decisions need to be made.
We work with homeowners throughout Suffolk and Nassau Counties to design and build outdoor kitchens that fit how you live. From concept to installation, our process is hands-on, direct, and built around what works in this area.
Article details:
Share:
Continue learning: