Complete guide to brick and stone installation process on Long Island, covering preparation, drainage, materials, and what homeowners can expect from start to finish.
Share:
Summary:
Every successful brick and stone installation starts with thorough planning. We visit your property to evaluate soil conditions, drainage patterns, and existing structures that might affect the project.
On Long Island, this assessment is particularly crucial. Sandy soil, coastal moisture, and freeze-thaw cycles create unique challenges that we know how to address. We’ll measure your space, discuss your vision, and identify any potential obstacles before work begins.
This planning phase also includes obtaining necessary permits and scheduling inspections. We handle these details, ensuring your project meets local building codes from the start.
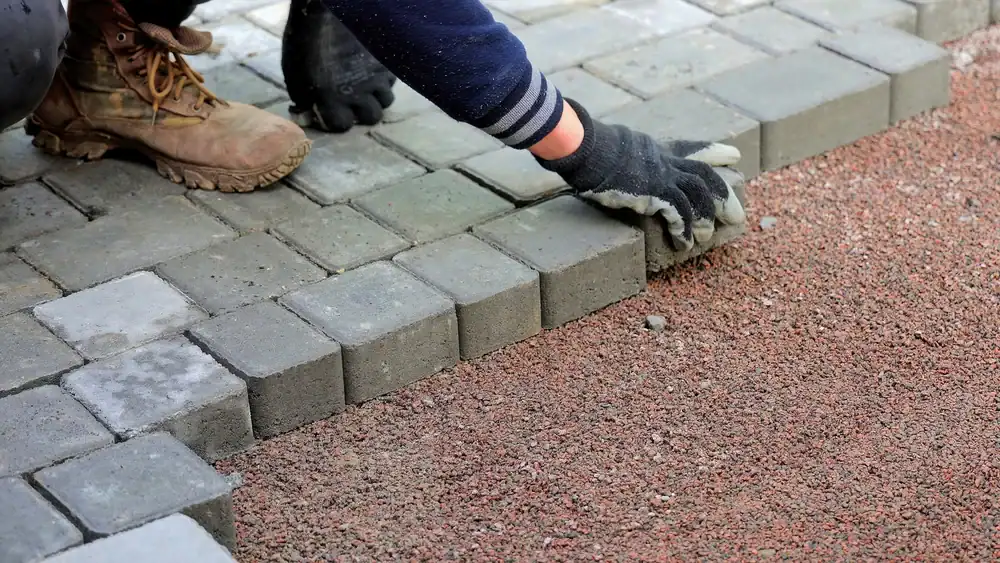
Once planning is complete, the real work begins with excavation. For Long Island installations, proper excavation typically goes 8 to 10 inches deep, though this varies based on your specific project and soil conditions.
Excavation isn’t just about digging a hole. We remove existing materials, grade the area for proper water flow, and create the foundation that determines how long your installation will last. Poor base preparation is the number one cause of shifting, cracking, and premature failure in masonry projects.
After excavation, we install a base layer of crushed stone or gravel. This base gets compacted in lifts, creating a stable foundation that won’t shift over time. The base material choice depends on your soil type and the specific requirements of your project.
Drainage planning happens during this phase too. Long Island’s coastal location means proper water management is essential. We install drainage systems, plan for proper slope, and ensure water flows away from your home and other structures.
The base preparation phase often takes longer than homeowners expect, but it’s time well spent. A properly prepared base means your brick or stone installation will look beautiful and function properly for decades to come.
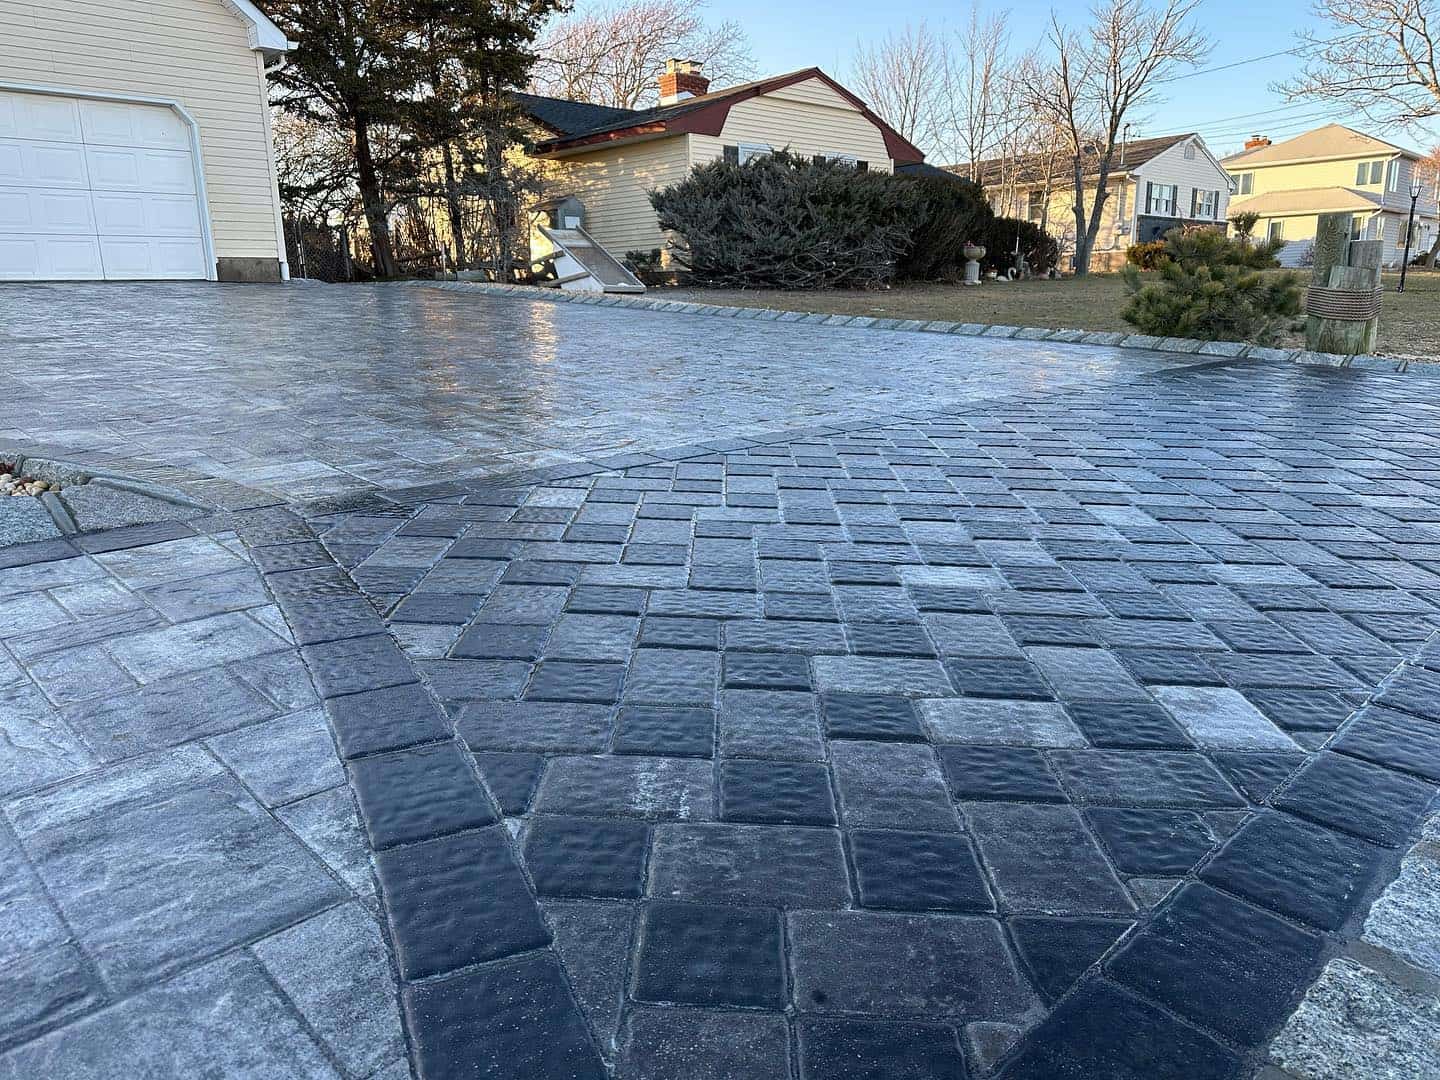
With preparation complete and materials on-site, the installation phase begins. This is where skilled craftsmanship becomes visible as your outdoor space transforms day by day.
We follow specific installation patterns and techniques that ensure both beauty and durability. We check levels constantly, maintain consistent spacing, and make adjustments for drainage requirements throughout the process.
Quality control happens continuously during installation. We inspect our work at each stage, making corrections immediately rather than hoping problems won’t show up later.
Edge restraints might not be glamorous, but they’re essential for long-lasting installations. These systems hold your brick or stone in place, preventing shifting that can ruin the appearance and function of your project.
Different edge restraint systems work better for different applications. Concrete edges provide maximum stability for driveways and high-traffic areas. Plastic or metal restraints work well for walkways and patios. We’ll explain which system we’re using and why it’s appropriate for your project.
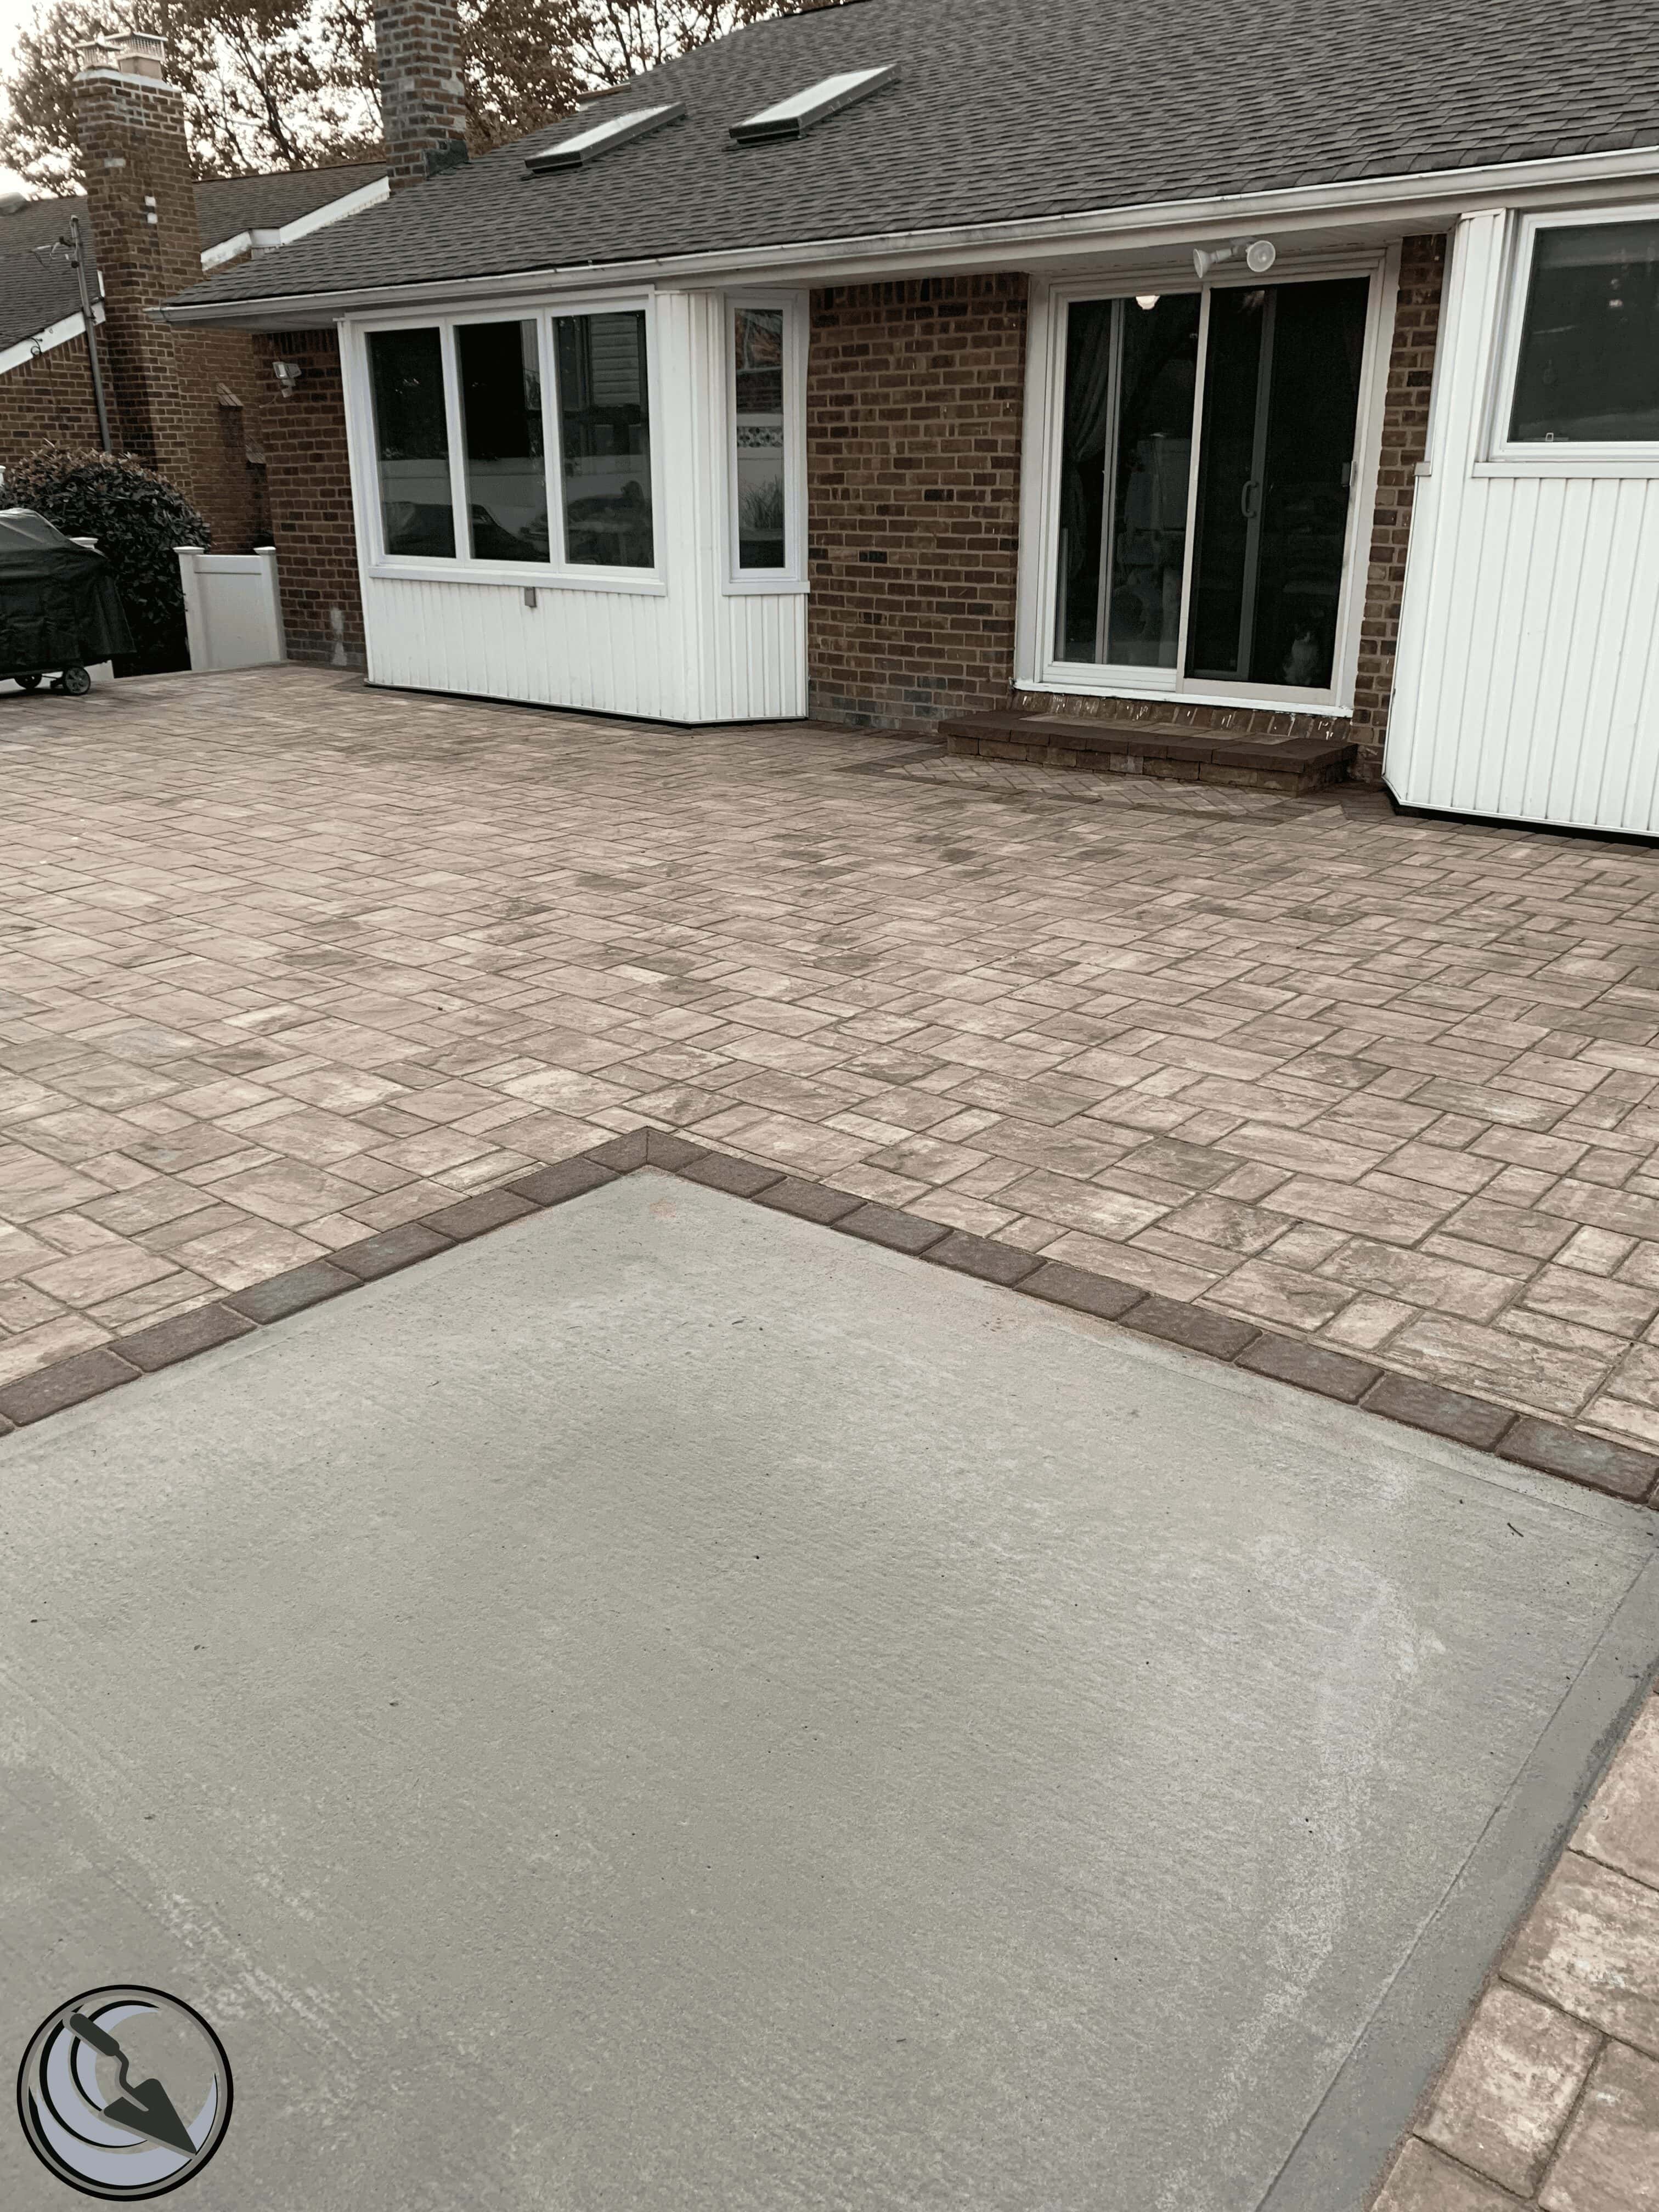
Joint installation varies depending on your material choice. Dry-laid installations rely on tight-fitting pieces with minimal gaps. Mortared joints require proper mixing, application, and curing time. Sand-swept joints need specific sand types and proper compaction techniques.
Weather affects joint installation significantly. Temperature and humidity influence curing times and final appearance. We adjust our techniques based on current conditions and may postpone certain steps when weather isn’t cooperative.
The joint installation phase often determines the final appearance of your project. Consistent joint widths, proper depth, and clean lines separate professional installations from amateur work. This attention to detail becomes more apparent over time as properly installed joints age gracefully while poor joints deteriorate quickly.
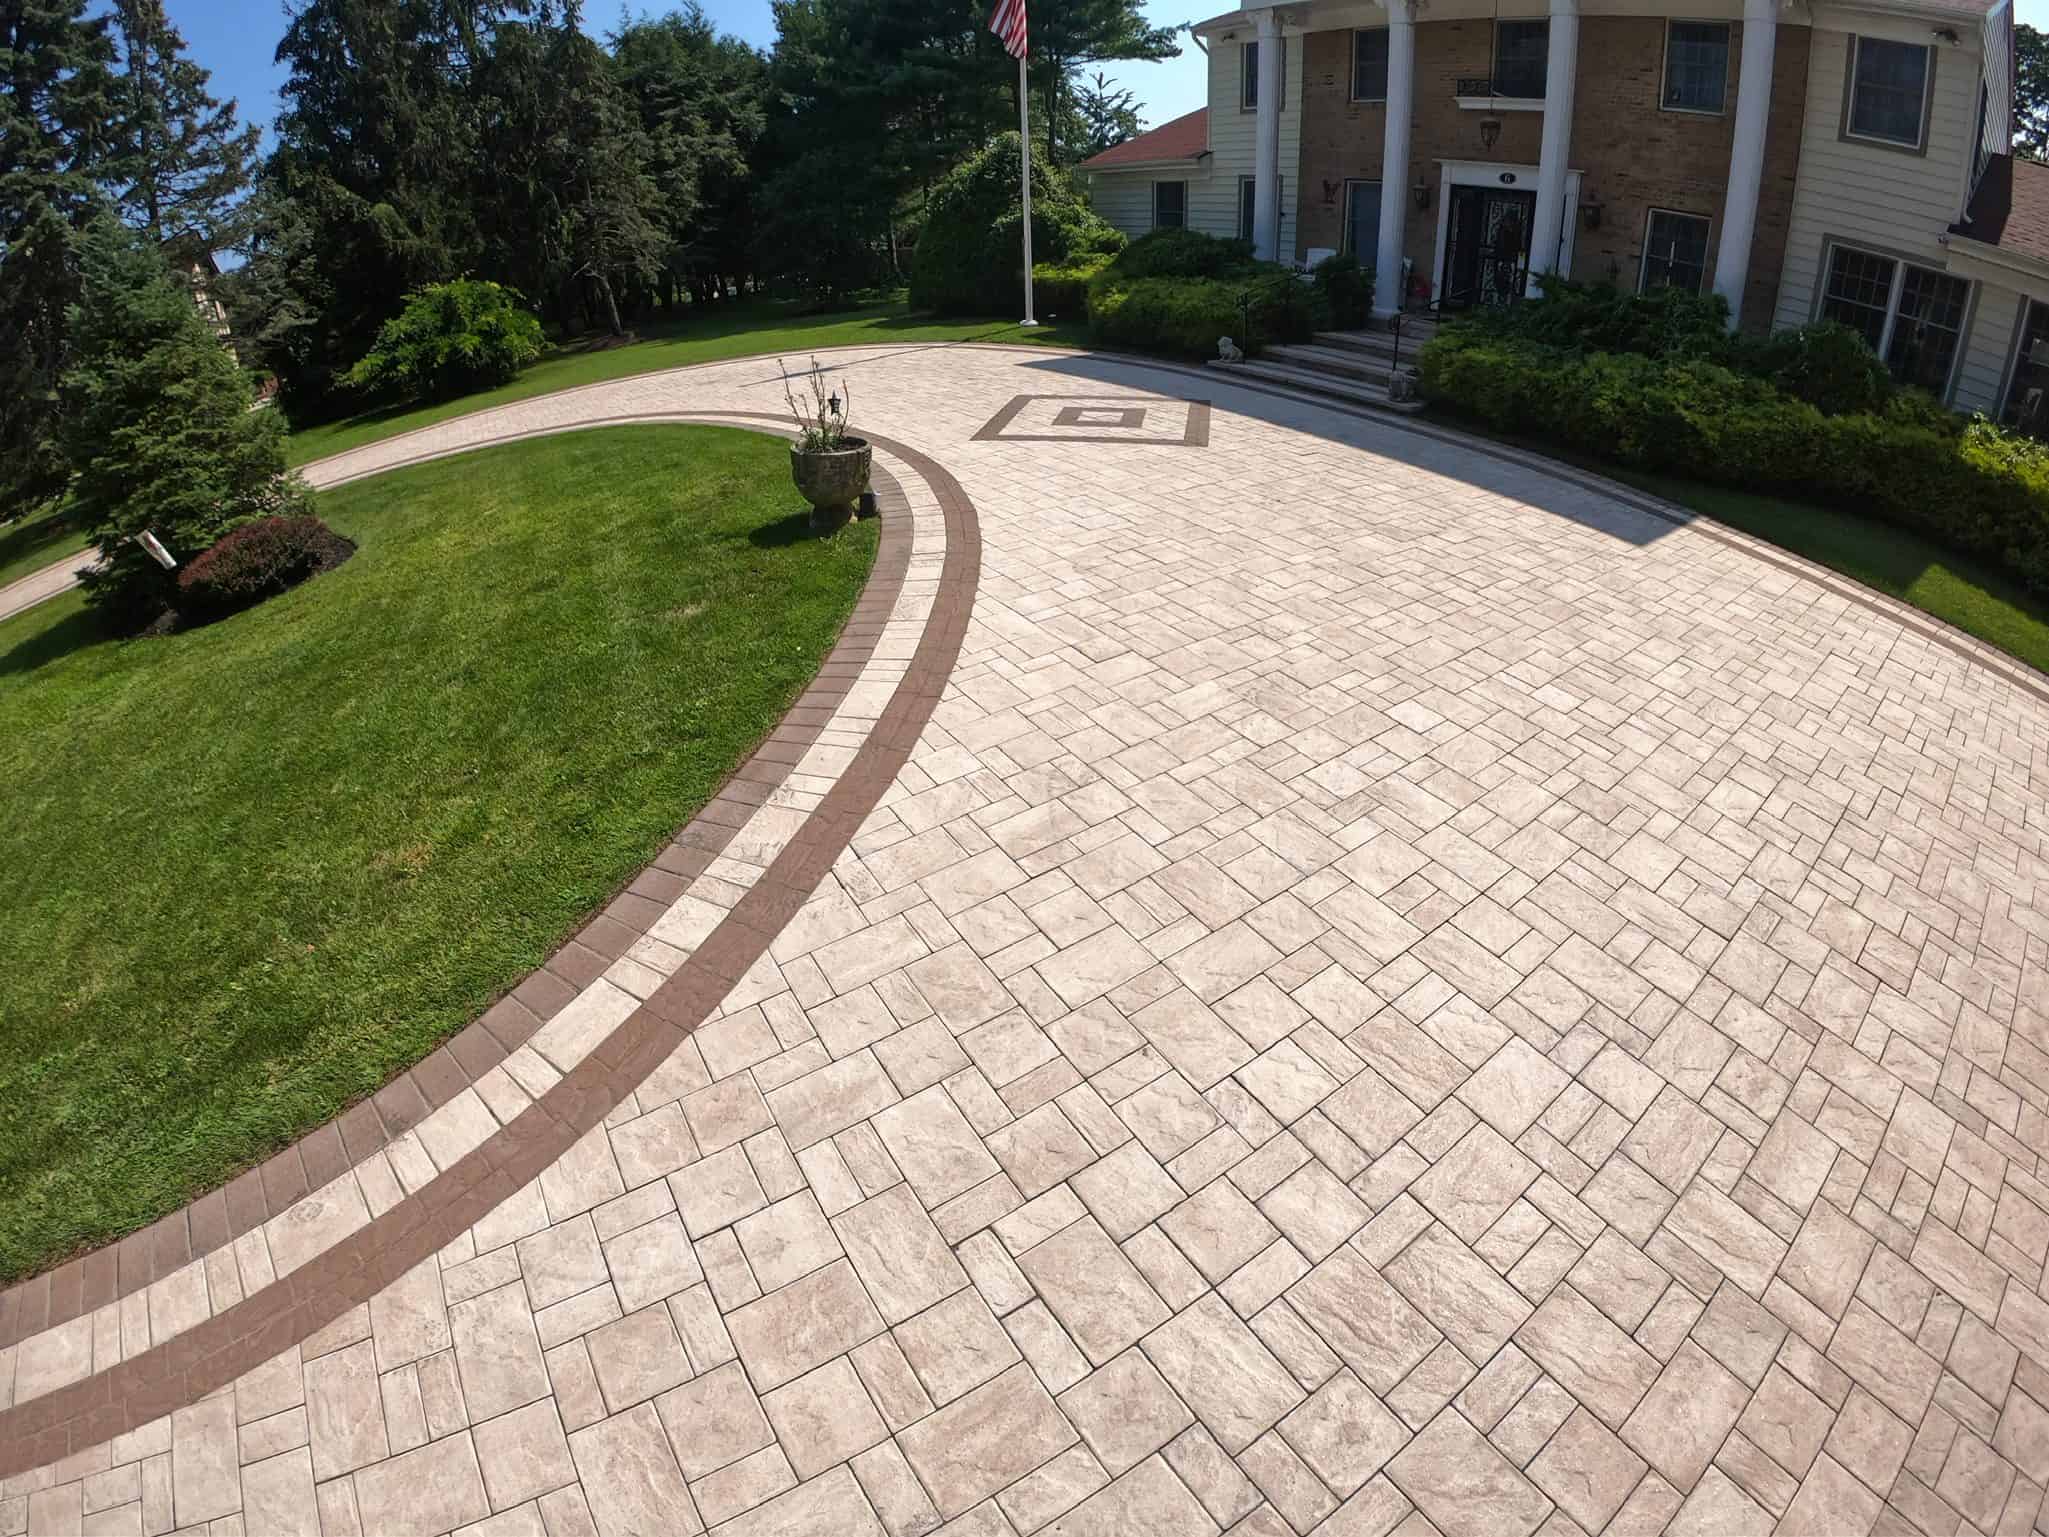
As installation nears completion, final grading and cleanup procedures begin. This phase transforms your construction site back into a beautiful outdoor space you can enjoy immediately.
Final grading ensures proper water drainage around your new installation. We adjust soil levels, install transition strips where needed, and make sure water flows away from your home and other structures. This prevents water damage and maintains the integrity of your new masonry work.
Cleanup involves more than just removing construction debris. We sweep joint sand, remove excess materials, and clean the surface of your new installation. We also restore landscaping areas affected by construction and ensure your property looks better than when we started.
We perform a final walkthrough with you, explaining maintenance requirements and answering any questions about your new installation. We point out key features, explain proper care techniques, and provide information for future service needs.
The cleanup phase also includes final inspections when required by local codes. We coordinate these inspections and address any issues that arise. This ensures your project is completely compliant and ready for years of enjoyment.
We also provide warranty information during this final phase. Understanding what’s covered and for how long helps you protect your investment and know when to contact us for service.
Understanding the complete installation process helps you choose the right contractor and set realistic expectations for your project. From initial planning through final cleanup, each phase requires specific expertise and attention to detail.
The key to successful brick and stone installation lies in proper preparation, quality materials, and skilled craftsmanship. Contractors who follow proven processes and understand Long Island’s unique conditions deliver results that enhance your property value and provide years of enjoyment.
When you’re ready to move forward with your masonry project, contact Stone Escapes Masonry & Outdoor Design Inc for a consultation that covers all aspects of the installation process tailored to your specific needs and property conditions.
Article details:
Share:
Continue learning: