Not every masonry contractor understands Suffolk County's sandy soil and coastal conditions. Here's what to look for before hiring anyone for your paver project.
Share:

Summary:
When you search for masonry contractors, you’ll find plenty of guys with shiny websites and promises that sound better than a Hamptons sunset. What you won’t find—unless you look closely—is whether they actually understand the physics of living on a giant sandbar.
Most contractors learn their trade in places with “normal” dirt and assume those same rules apply here. They dig to standard depths, use generic base materials, and hope for the best. That works fine in the Midwest. In Suffolk County, it leads to “The Sag,” “The Tilt,” and homeowners who end up calling us to fix a mess that shouldn’t have happened in the first place.
The pros who thrive here don’t just “lay bricks”—we account for variables that would make an inland contractor sweat. Sandy soil that loves to shift under pressure? Check. Coastal moisture that eats away at cheap materials? Double check. Freeze-thaw cycles that happen more often than a Long Island Expressway traffic jam? Triple check. These aren’t “extra” details; they are the job.

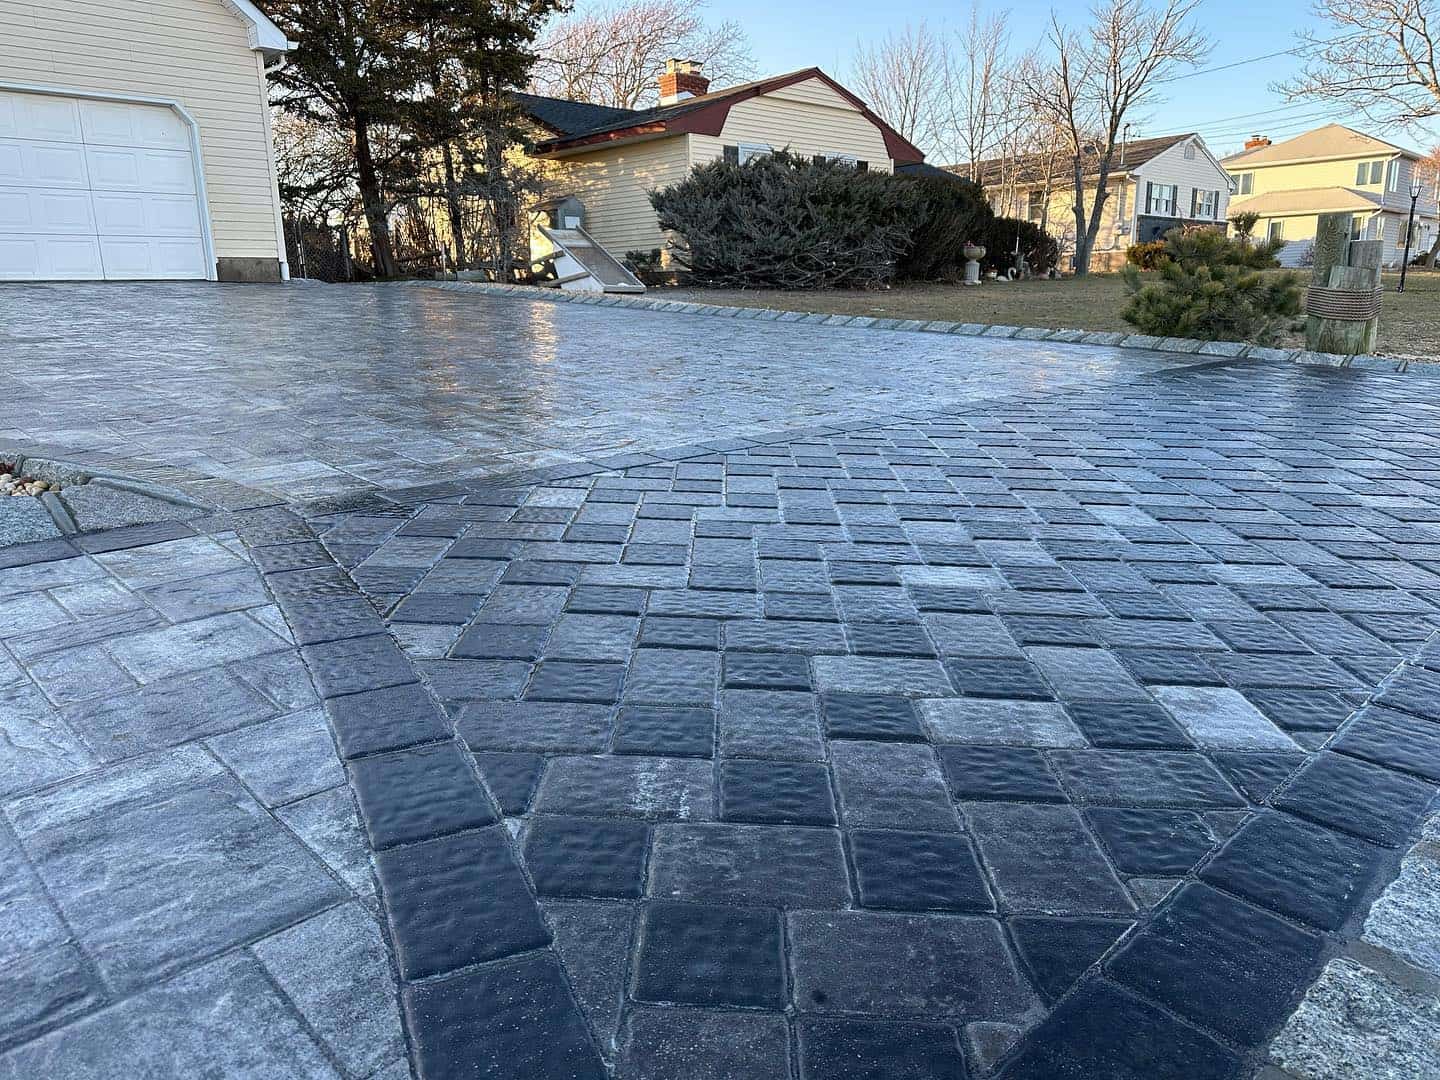
Suffolk County’s sandy soil is great for the beach, but it’s a total diva when it comes to supporting heavy stones. Unlike clay-heavy soils that act like a solid shelf, sand is a “shifter.” It drains beautifully, sure, but it provides about as much structural stability as a pile of marshmallows if it isn’t handled correctly.
Without the right prep, your pavers will start to settle unevenly, creating “puddles” that are perfect for breeding mosquitoes but terrible for walking. You’ll eventually notice pavers that rock like a loose tooth when you step on them. Gaps will open up. Suddenly, your “flat” patio looks like a very expensive skate park.
The fix isn’t rocket science, but it does require more than a weekend warrior’s effort. Excavation depth is key—we’re talking 8 to 10 inches, not the “standard” 6 inches used in the brochures. The base material needs to be compacted in layers, like a delicious (but very heavy) geological lasagna. Edge restraints are also non-negotiable because sand loves to let things slide sideways.
Contractors who know their stuff don’t “cut corners” on the digging. We know the base determines if your project lasts 3 or 30 years. We use heavy-duty commercial compactors and create drainage paths that make sure water doesn’t hang out under your stones.
The difference isn’t visible on day one—it’s visible in year five. Properly installed pavers stay put. Badly installed ones start acting like they’re on vacation. By the time you see the sinkholes, the only fix is “The Great Re-Do,” which usually costs more than doing it right the first time.
Long Island winters are basically a giant science experiment in expansion. Water sneaks into tiny spaces—between pavers, under the base, or in small cracks. When the temp drops, that water freezes and grows. When it thaws, it shrinks. This “pulse” happens dozens of times a season, and it’s essentially the ground trying to bench-press your patio.
Every cycle pushes the stones a millimeter this way or that. It widens the joints. It invites more water in for the next round. Eventually, you’re looking at a structural nightmare. It’s like watching your driveway slowly try to escape your property.
Our coastal location adds a “salty” twist. Salt air and runoff can break down cheap joint sand faster than you can say “Robert Moses.” The polymeric sand that’s supposed to lock everything together starts to crumble, and suddenly you have a weed-filled, wobbly mess.
Real experts don’t just “set” stones; we install systems that can breathe. We use high-end edge restraints to stop the “spread.” We plan the grade so water actually leaves the premises instead of loitering under your pavers. We also pick materials that won’t turn to dust after a few salty winter storms.
Catching these problems early is impossible because they happen underground. Once you see a “heave,” the damage is done. You’ll see stones sitting higher than their neighbors, looking like they’re trying to peek over a fence.
But a proper installation? It’s “flexy.” The right base and drainage mean your pavers can handle the temperature swings without throwing a tantrum. Individual stones can move slightly without the whole system falling apart.
This is why certifications from brands like Cambridge or Techo-Bloc matter. They aren’t just “participation trophies”—they mean the contractor attended a class and learned how not to let physics destroy your backyard. When interviewing a pro, if they can’t explain their “freeze-thaw strategy,” they might just be a guy who owns a level and a dream.
The contractor you hire is the difference between a project you brag about and a project you hide with a large outdoor rug. The red flags aren’t always obvious, especially when they come with a “limited time offer.” You need to put on your detective hat and ask the hard-hitting questions.
Start with the basics: Licensing. Any reputable pro should have active licenses in both Suffolk and Nassau. If they give you a “the dog ate my license” excuse or claim residential work is “exempt,” thank them for their time and show them the curb.
Next, look for the badges. Certifications from major manufacturers (Cambridge, Unilock, etc.) mean the contractor is held to a standard higher than “looks good from my house.” These certifications imply accountability—if they mess up, they have a reputation with their suppliers to protect.

This is the part where many homeowners’ eyes glaze over, and contractors know it. They’ll talk about “solid foundations” while secretly planning to dig a shallow hole and call it a day. Don’t let them. This is the most important part of the entire bill.
Ask exactly how deep they plan to dig. If they say anything less than 8 inches for Suffolk sand, they are guessing. You want that extra depth for layers of crushed stone that won’t shift when your SUV parks on it.
Ask about the compaction. If they mention “hand tamping” or just “letting it settle,” run. You want to hear about commercial vibratory plate compactors and “lifts” (installing the base in 2-3 inch layers and compacting each one). If they dump it all in at once, your patio will eventually resemble a bowl of oatmeal.
Water management is the next hurdle. If they tell you “pavers drain naturally,” they are technically right but practically wrong. You need a plan for where that water goes. A pro will talk about “pitch” (sloping the patio away from your house) and potentially subsurface drains if your yard is a natural bathtub.
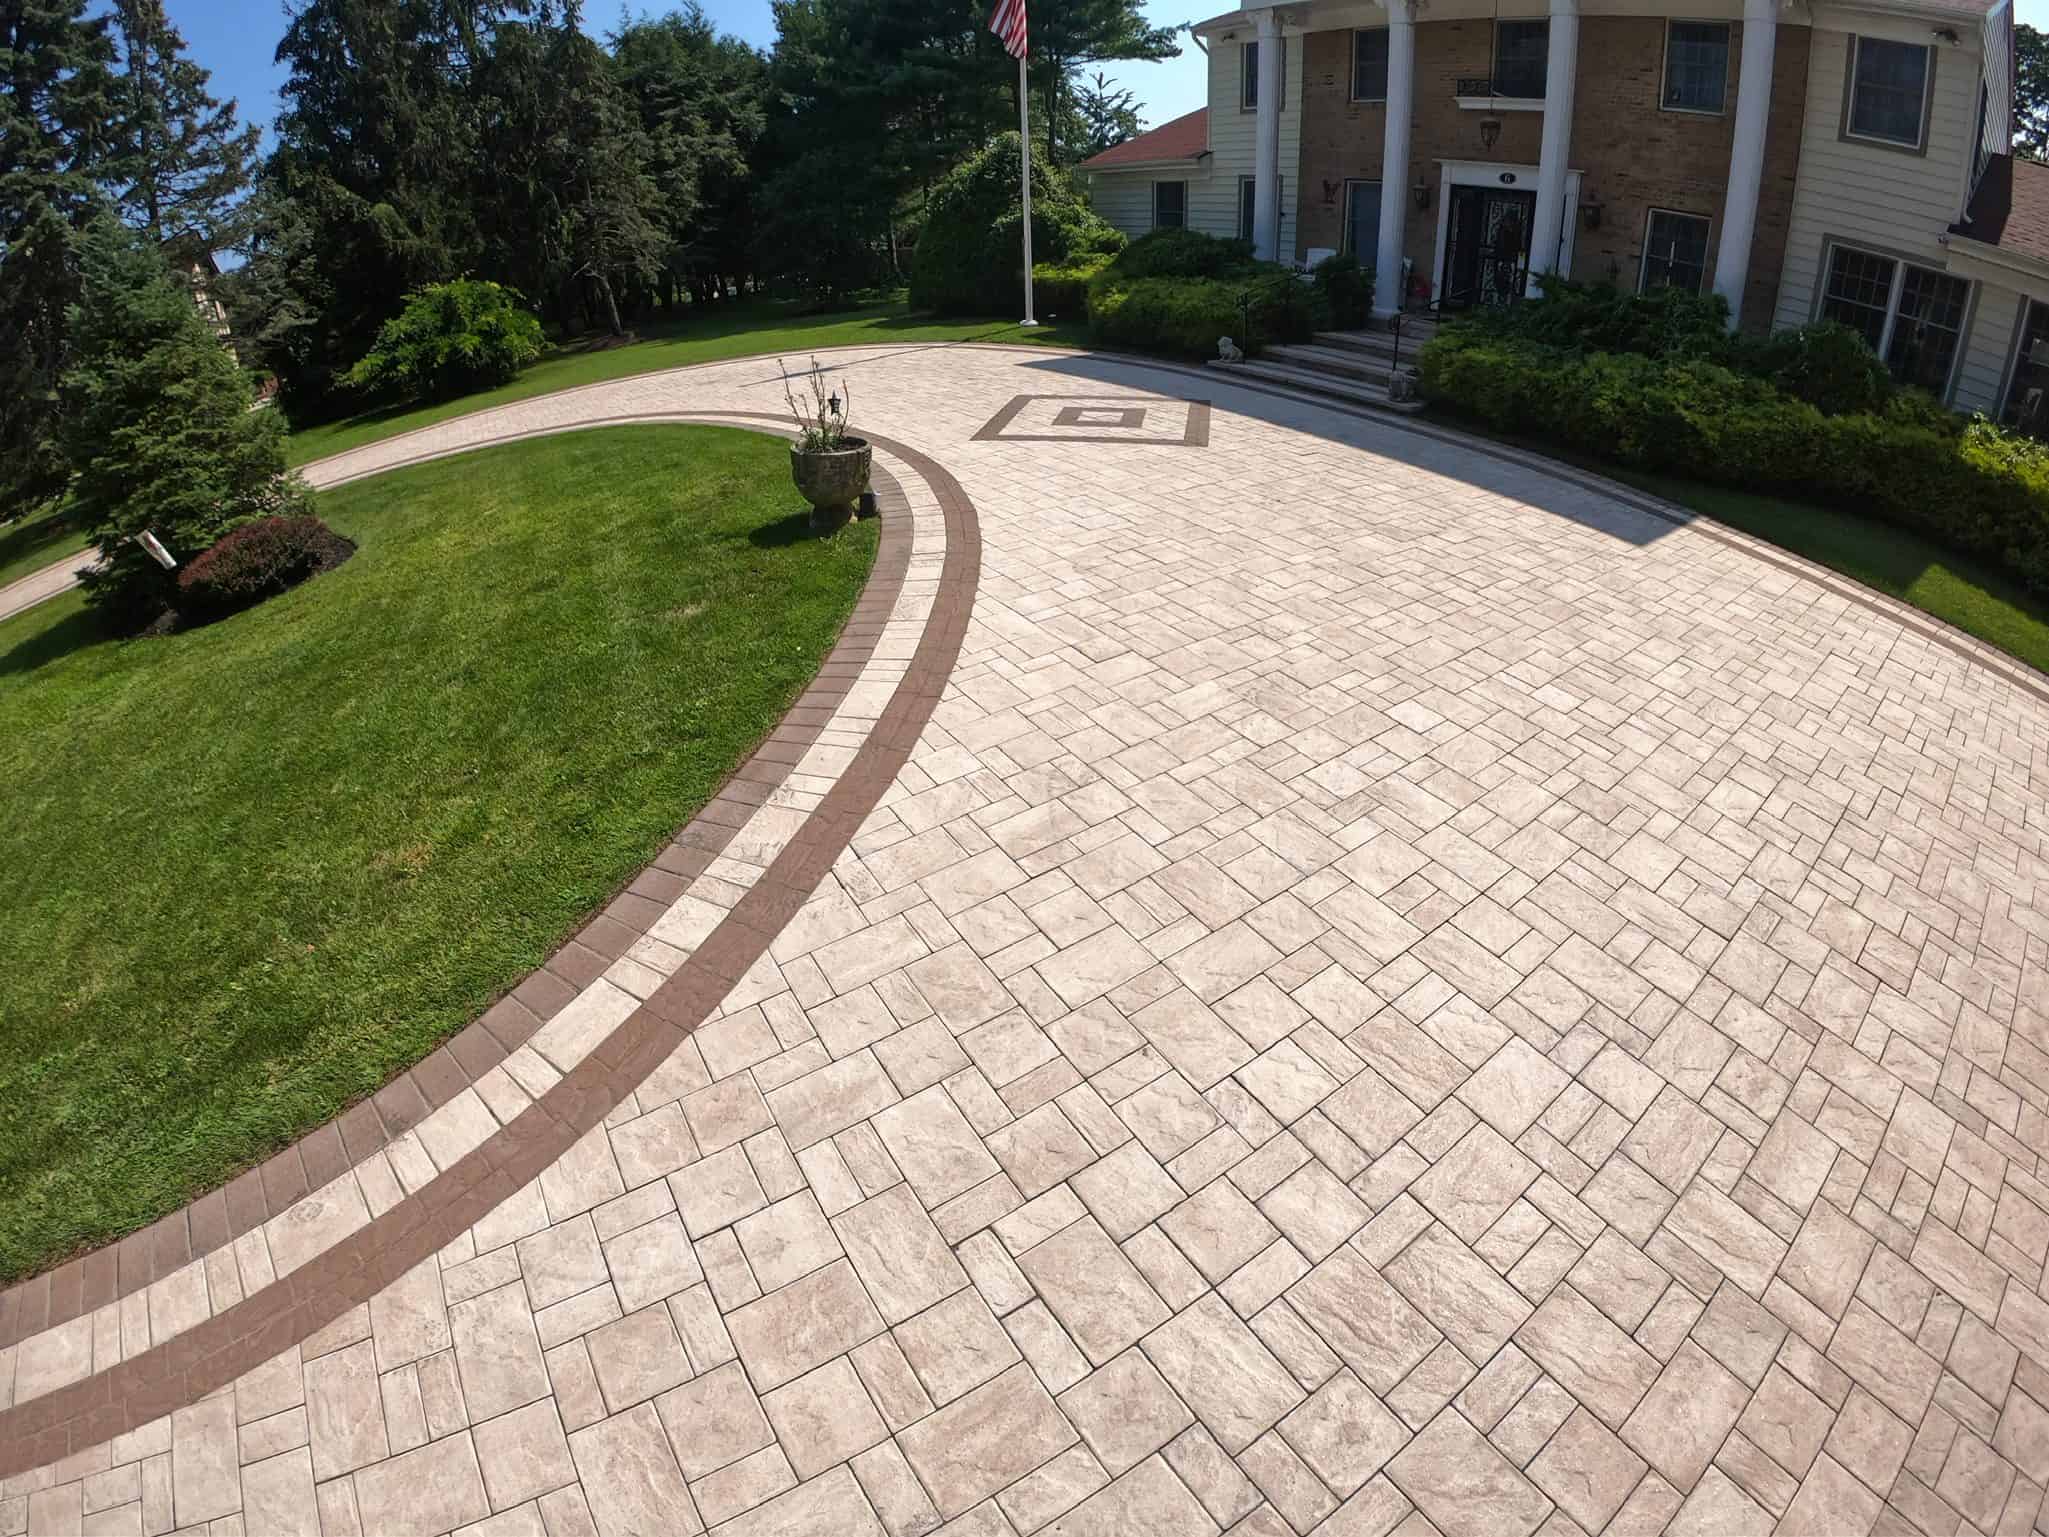
Edge restraints are the unsung heroes. In sandy soil, stones want to migrate outward. Concrete edge restraints are the gold standard here; plastic spikes are often just a temporary suggestion that the soil ignores after two seasons.
Finally, ask about the bedding sand. It should be about an inch thick—the “Goldilocks” zone. Too much sand and the pavers will “swim” underfoot; too little and they won’t level out. An experienced pro can explain this balance without looking at a manual.
If a contractor gets annoyed by these questions, that’s your answer. Someone who takes pride in their “hidden” work will be thrilled to tell you why their base is the best in the county. If they give you a shrug and a “don’t worry about it,” you definitely should worry about it.
Permits are about as exciting as watching joint sand dry, but they are vital. Depending on where you live in Suffolk, your town might have very specific opinions on how close you can build to your neighbor’s fence or how much “non-porous” surface you can have on your lot. A local pro should know the quirks of your specific township. If they suggest “doing it under the radar” to save a few bucks, they aren’t doing you a favor—they’re leaving you with a potential legal problem. Unpermitted work can haunt you when you try to sell your house or, worse, result in a “stop work” order halfway through the job.
Permits are actually a safety net for you. They mean a neutral third party (the inspector) is going to double-check that your contractor didn’t build a drainage nightmare that floods your neighbor’s basement. It’s essentially professional backup.
Ask the contractor: “Will you handle the permit process?” The right answer is “Yes, we handle the paperwork and the inspections.” This proves they are licensed (because you can’t pull a masonry permit without a license) and that they aren’t afraid of an inspector looking at their work.
Inspectors check for things like excavation depth and structural integrity. If your contractor is doing high-quality work, an inspection is just a quick “thumbs up.” If they’re cutting corners, that inspector is the only person standing between you and a failing patio.
Don’t let the fear of a small fee or a slight delay scare you off. A permit usually costs a few hundred bucks and adds a little time to the schedule, but it adds thousands in assurance and property value.
When looking at quotes, check if the permit fees are included or listed as an “additional.” If one guy is $2,000 cheaper than everyone else, check if he “forgot” to mention the permit work or the code-compliant drainage system. In the world of masonry, you usually get exactly what you pay for.
Typing “pavers near me” into Google is just the first step of the journey. The real work is finding the contractor who treats your backyard like it’s their own. Long Island presents a unique set of challenges that can turn a “cheap” job into an expensive disaster in record time.
The right team doesn’t just show up and start laying stones. We dig deep—literally—to make sure the sandy soil behaves. We use the right materials to survive the freeze-thaw roller coaster. We plan for the rain, and we don’t hide from the permit office.
When you’re ready to stop staring at that cracked concrete and start enjoying a real outdoor living space, look for the pros with the right licenses, the manufacturer certifications, and a deep understanding of Suffolk County’s “ground rules.” Ask the technical questions. Demand clear answers.
Your home is likely your biggest investment; don’t let a sub-par installation undermine it. When it’s done right, you get more than just a patio—you get a space that handles everything New York weather throws at it. At Stone Escapes Masonry & Outdoor Design Inc, we specialize in those “built-to-last” installations that keep Suffolk County looking sharp, one stone at a time.
Article details:
Share:
Continue learning: