Curious about patio installation? Understand the typical masonry process from prep to finish for stone or brick patios on Long Island.
Share:

Summary:
The journey to a new patio begins long before any ground is broken. Firstly, a thorough site assessment is conducted. This involves evaluating the proposed location for factors like sunlight exposure, existing landscape features, underground utilities, and, importantly, drainage patterns. Next comes the design consultation, often involving collaboration with stone patio contractors. During this stage, you’ll discuss your vision for the space, including size, shape, intended use, and preferred materials (like specific stones or brick types). Measurements are taken, and a detailed layout is often marked on the ground. Material quantities are calculated, and considerations like necessary permits for certain types of construction on Long Island are addressed. Consequently, this planning phase sets the foundation for the entire patio installation project, ensuring the final product meets your expectations and suits your property.
Once the plan is finalized, the physical work commences with site preparation. This primarily involves excavation, the removal of topsoil, grass, and any existing structures from the designated patio area. The depth of excavation is determined by the thickness of the planned base materials, the pavers themselves, and considerations for the local frost line on Long Island, typically requiring several inches below the final grade. Furthermore, the excavated area is carefully graded to establish a slight slope, usually about 1/4 inch per foot, directing water away from your home’s foundation. Proper grading is essential for drainage, preventing pooling water that could damage the patio structure over time, especially during freeze-thaw cycles. All excavated material is then removed from the site.
Once the plan is finalized, the physical work commences with site preparation. This primarily involves excavation, the removal of topsoil, grass, and any existing structures from the designated patio area. The depth of excavation is determined by the thickness of the planned base materials, the pavers themselves, and considerations for the local frost line on Long Island, typically requiring several inches below the final grade. Furthermore, the excavated area is carefully graded to establish a slight slope, usually about 1/4 inch per foot, directing water away from your home’s foundation. Proper grading is essential for drainage, preventing pooling water that could damage the patio structure over time, especially during freeze-thaw cycles. All excavated material is then removed from the site.
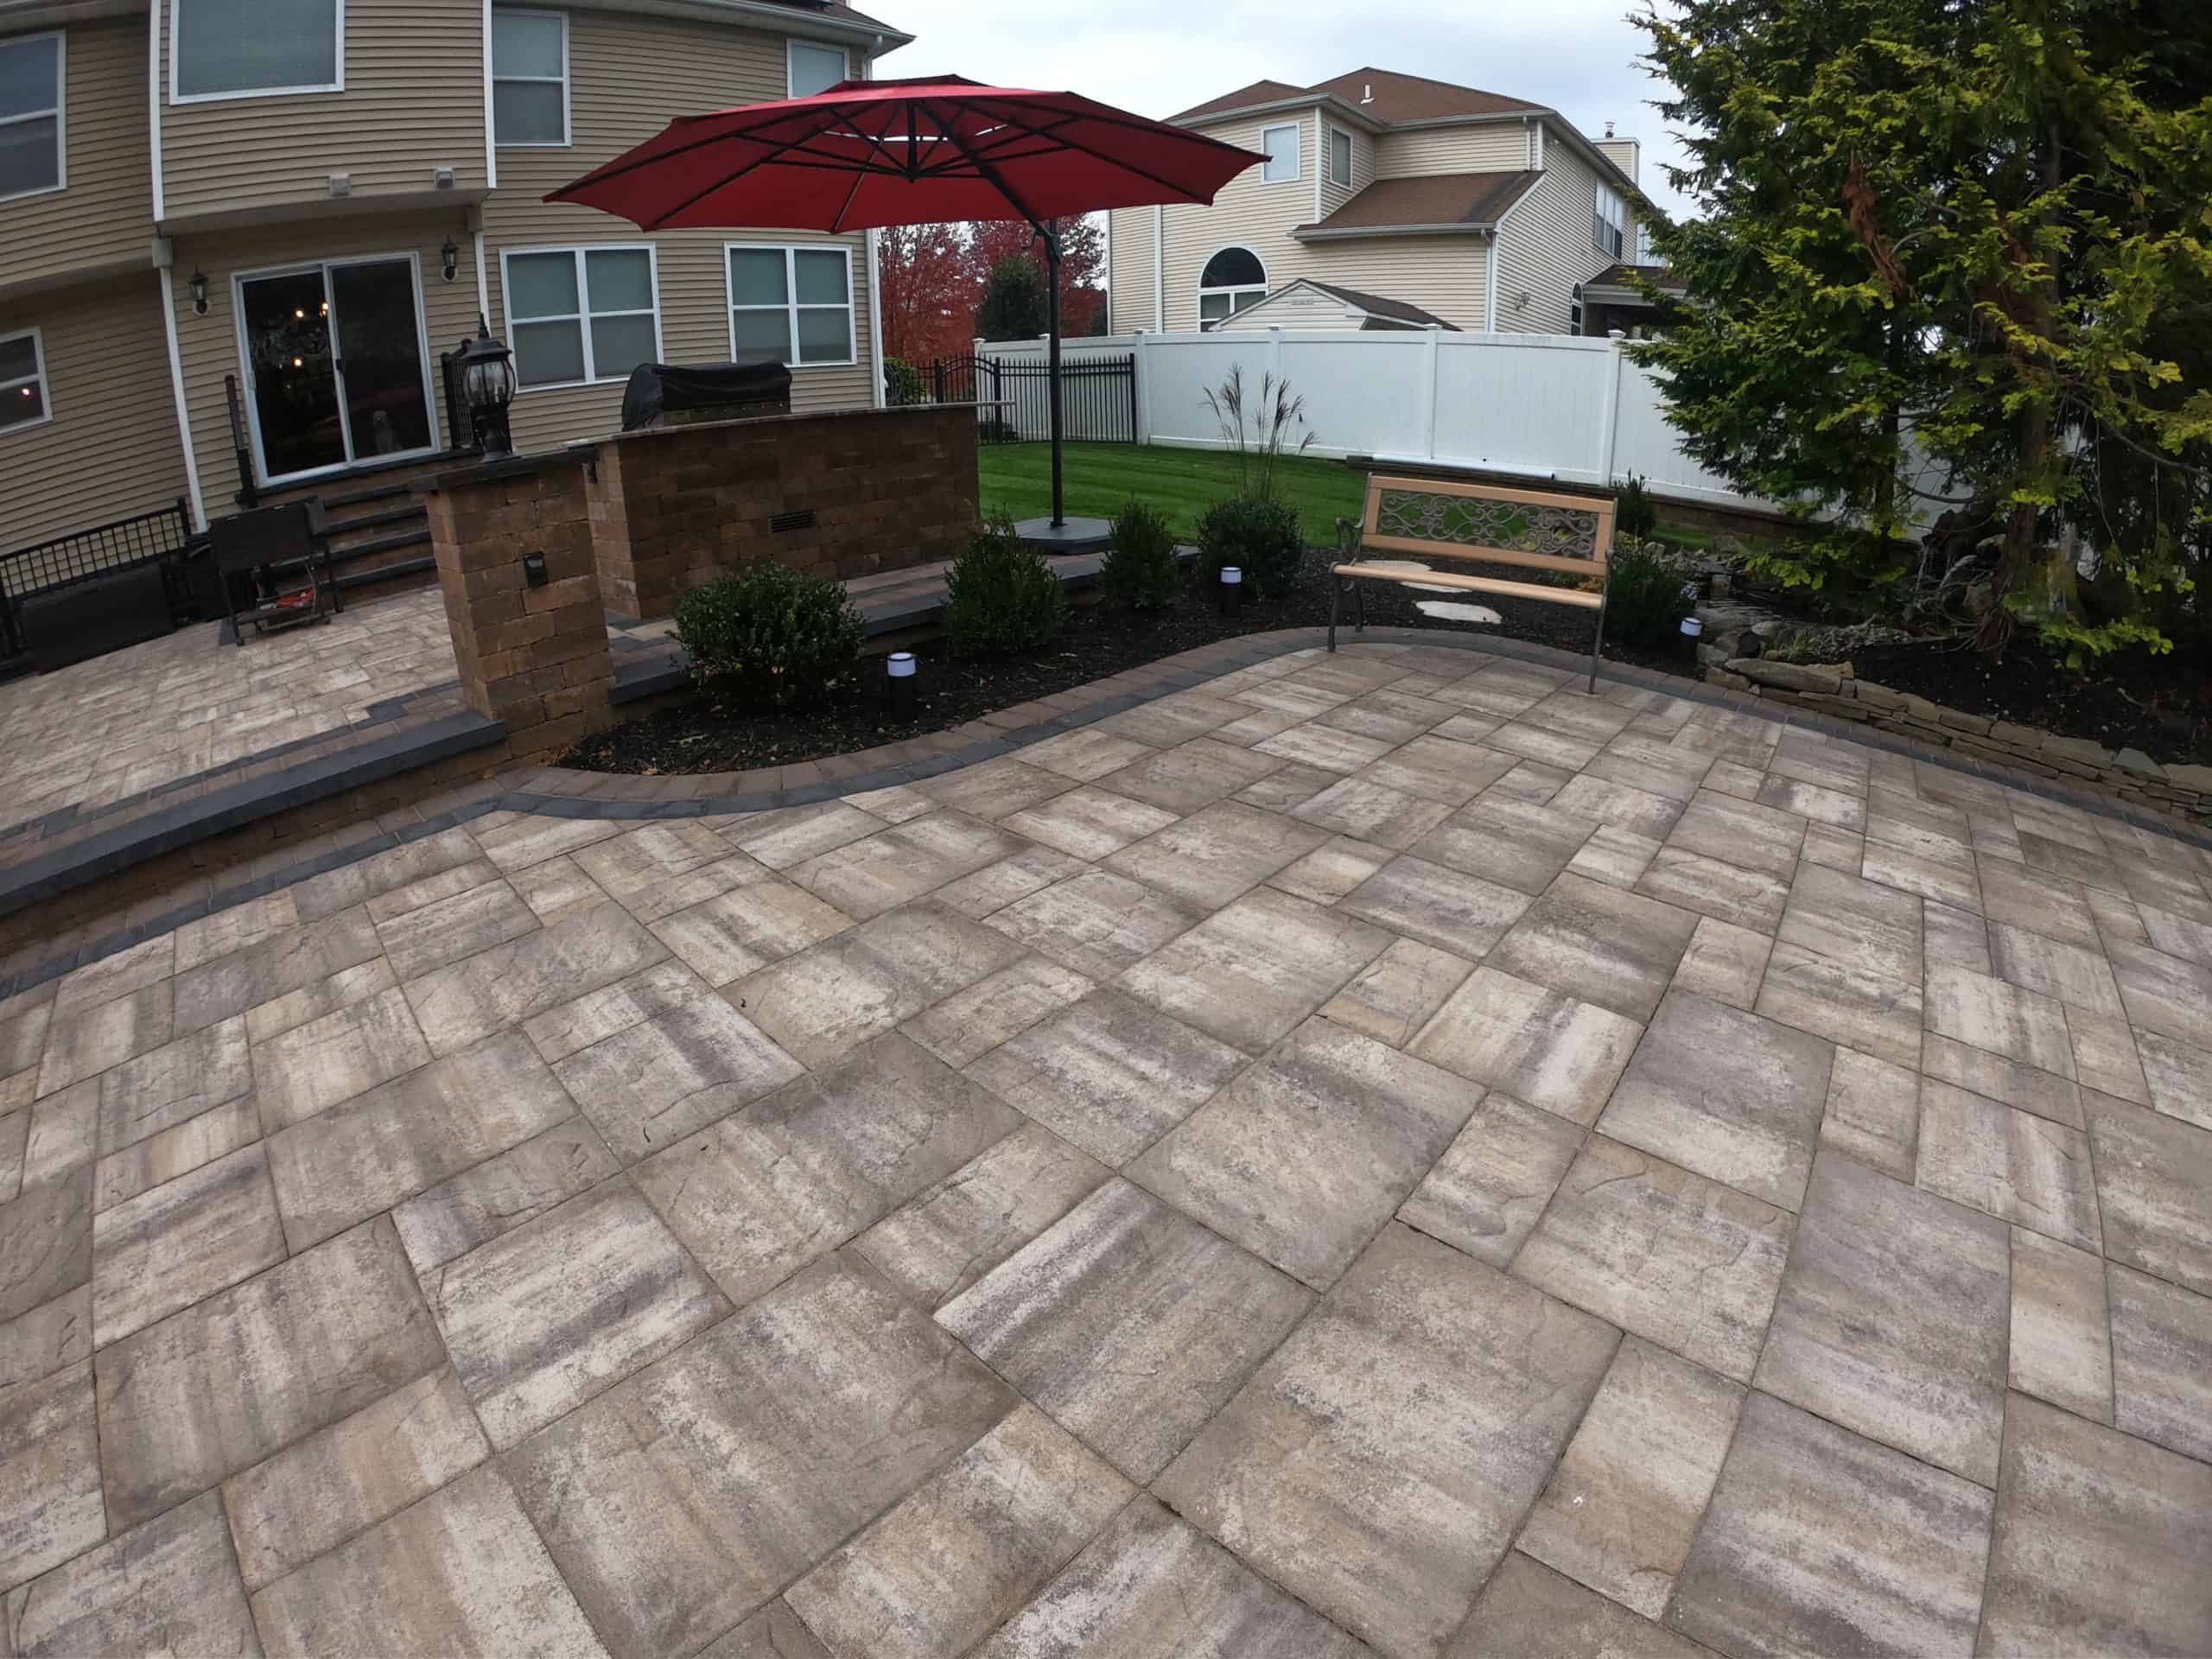
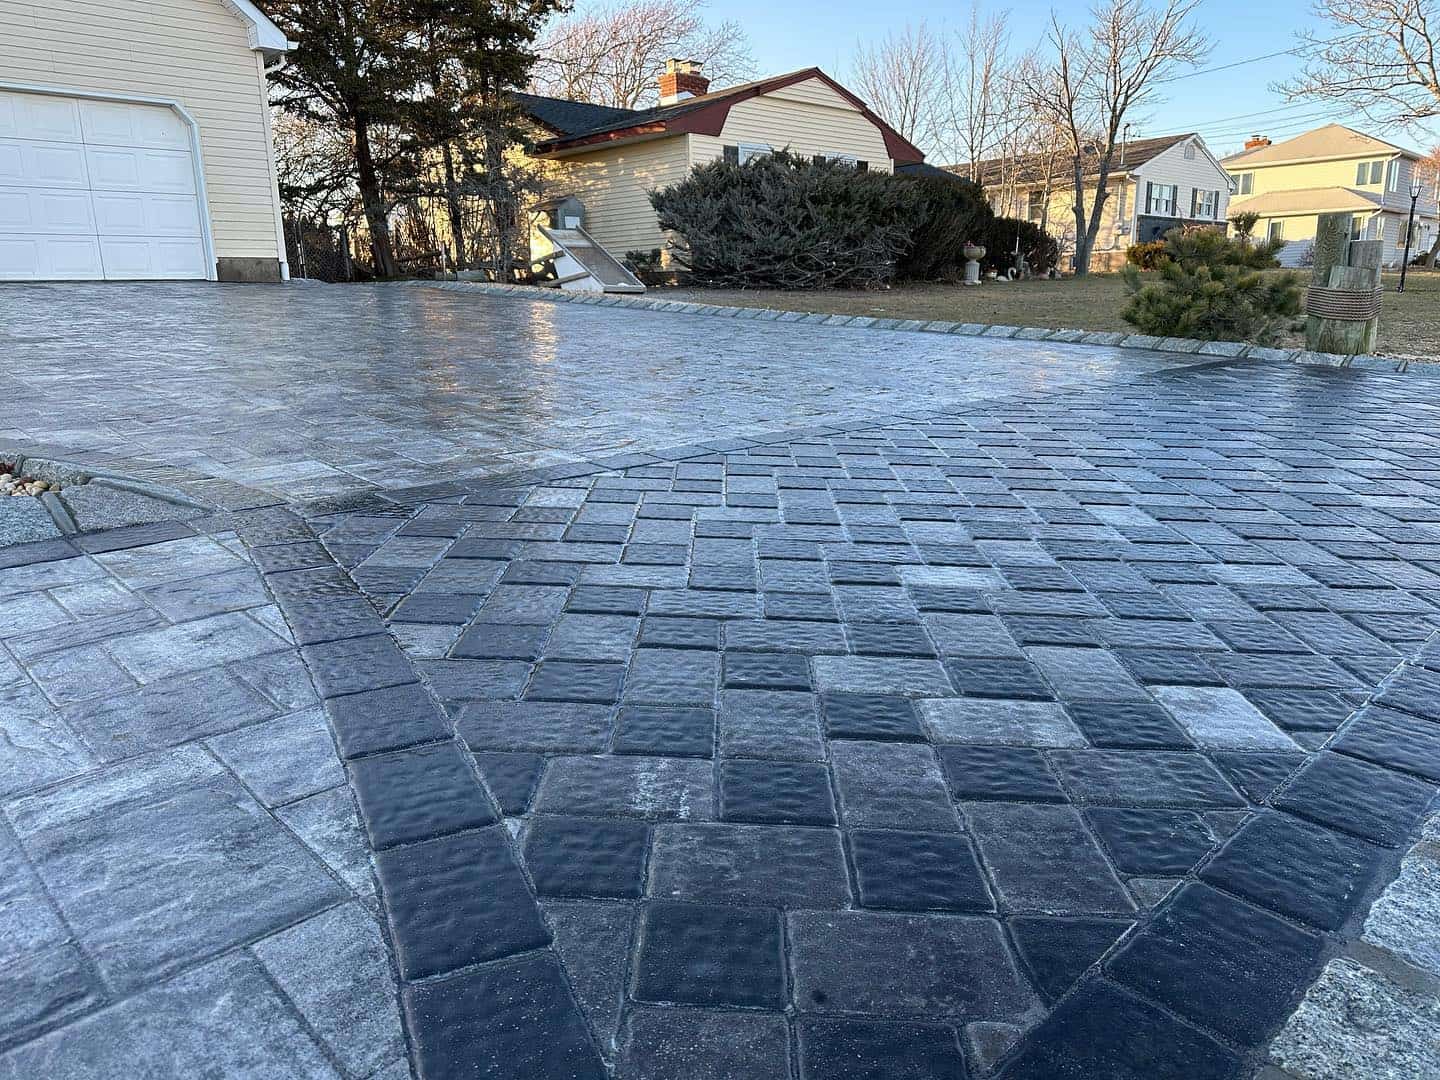
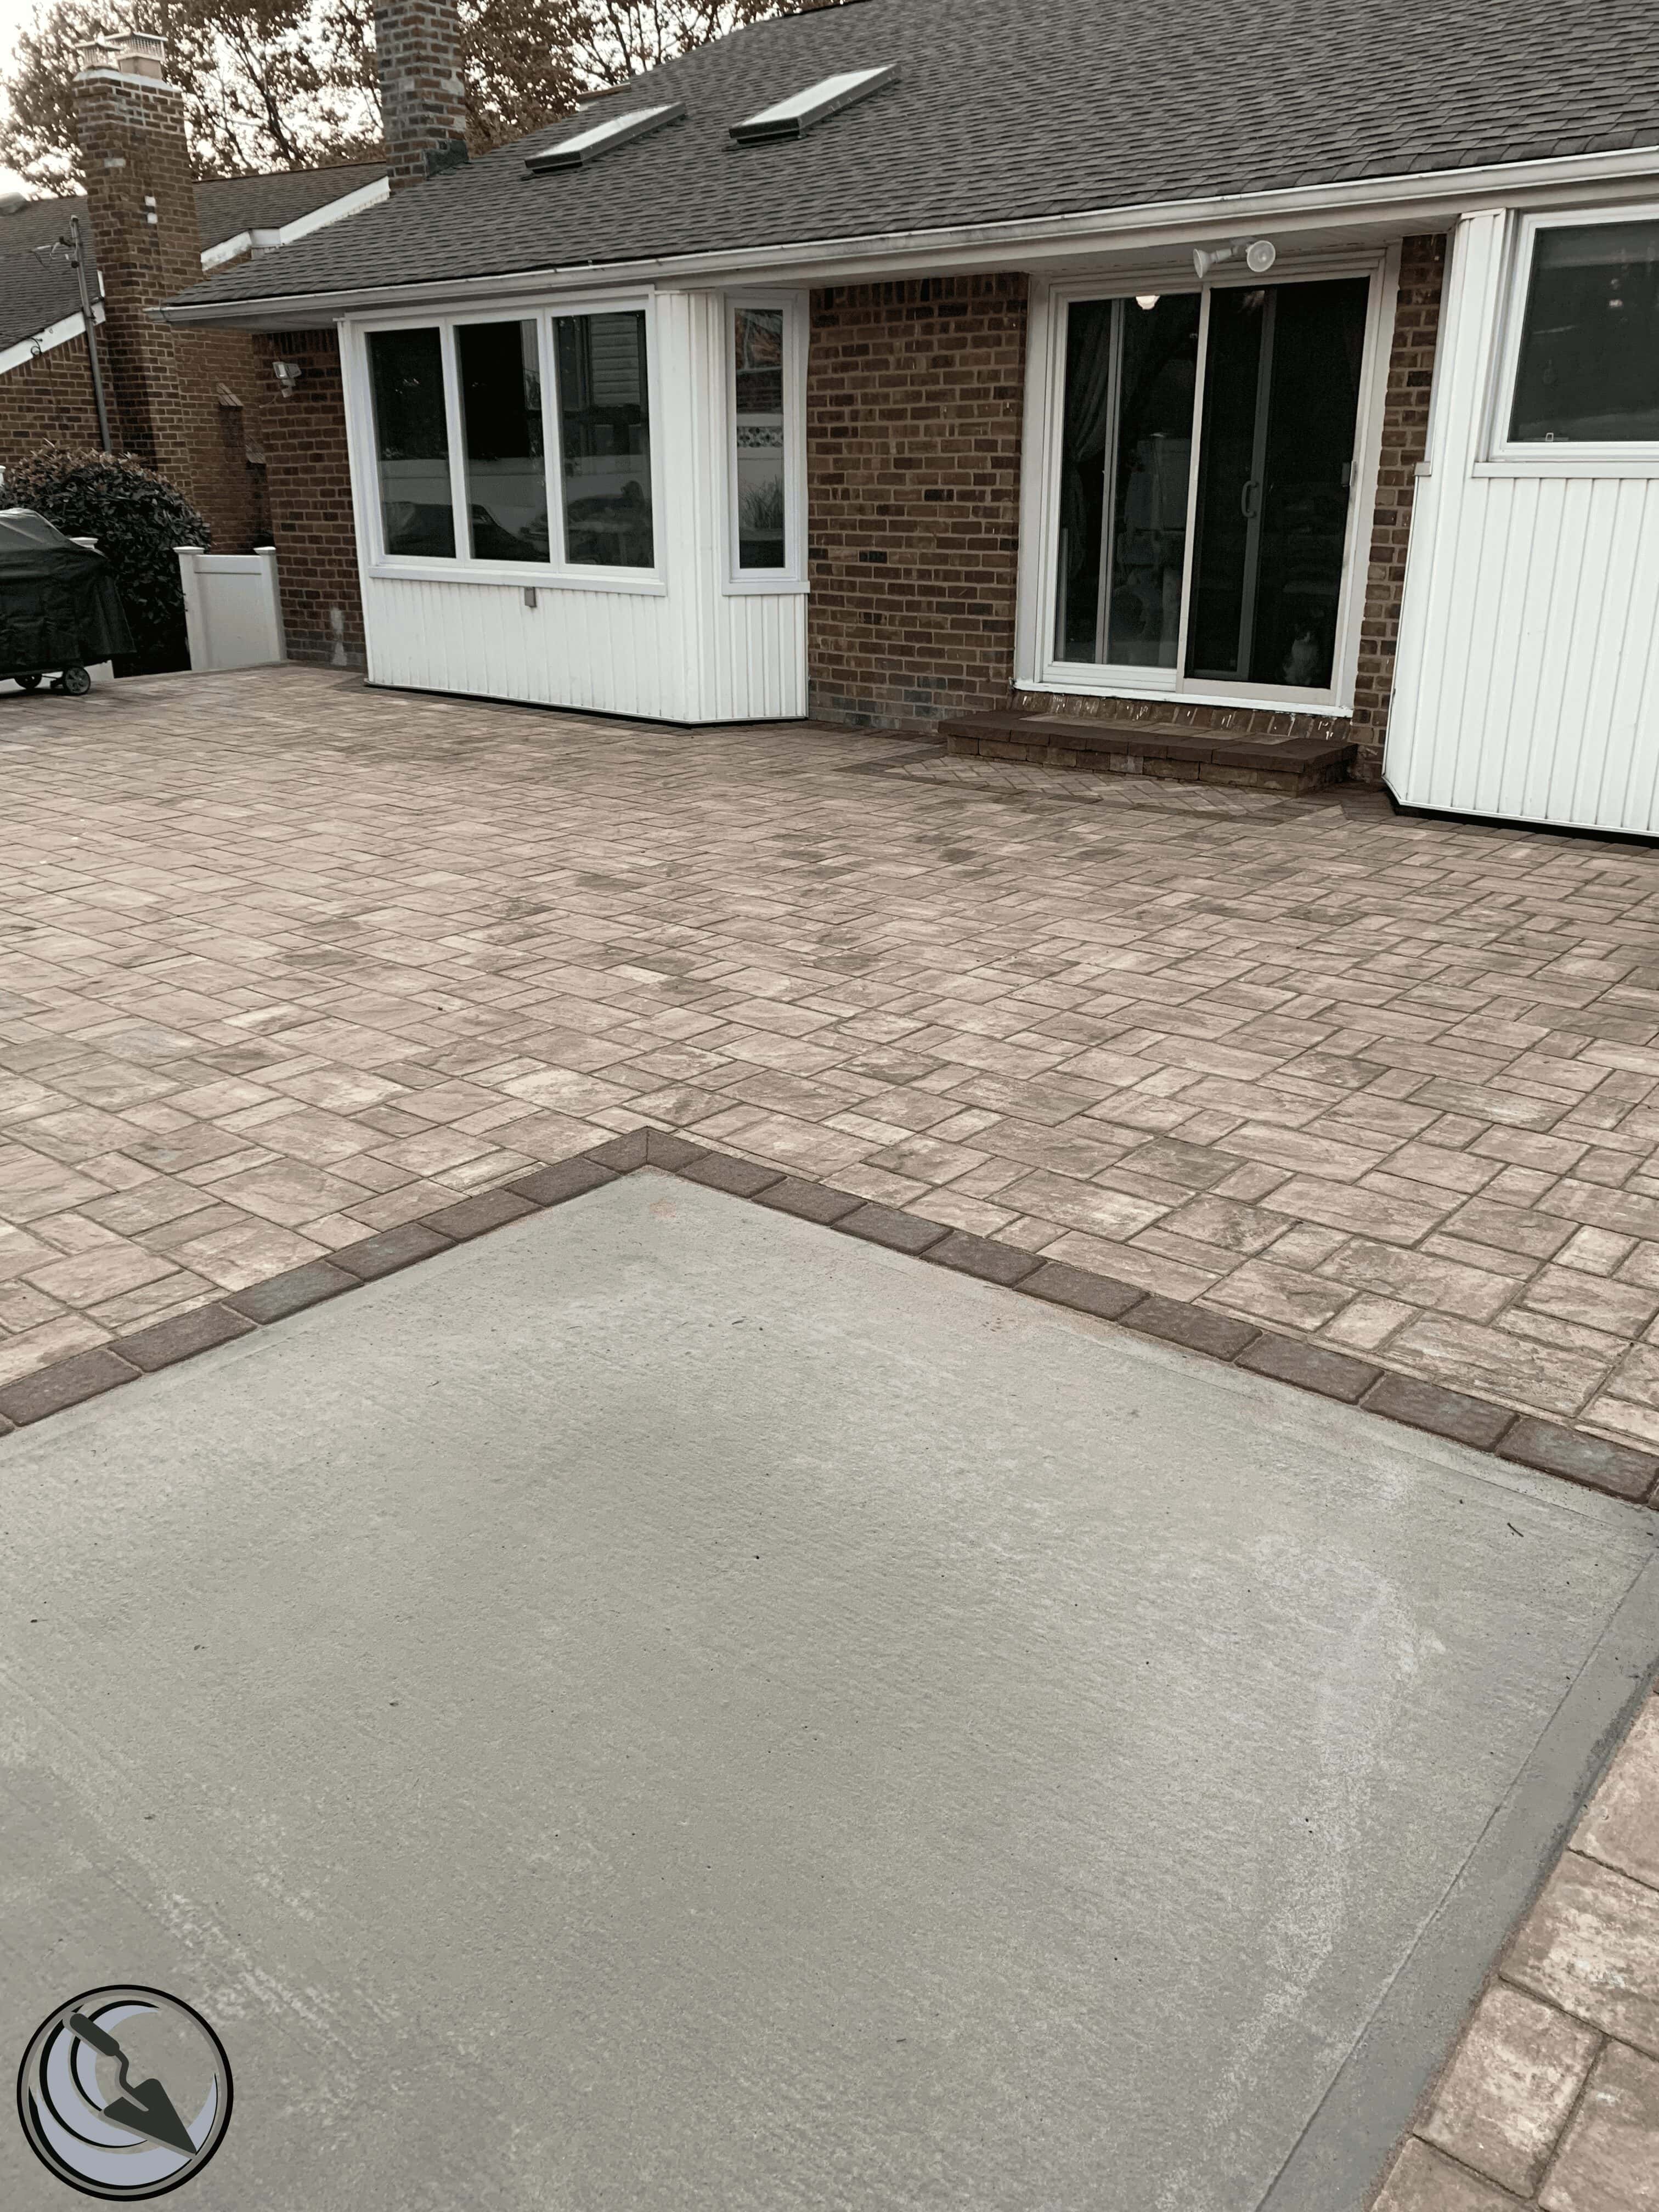
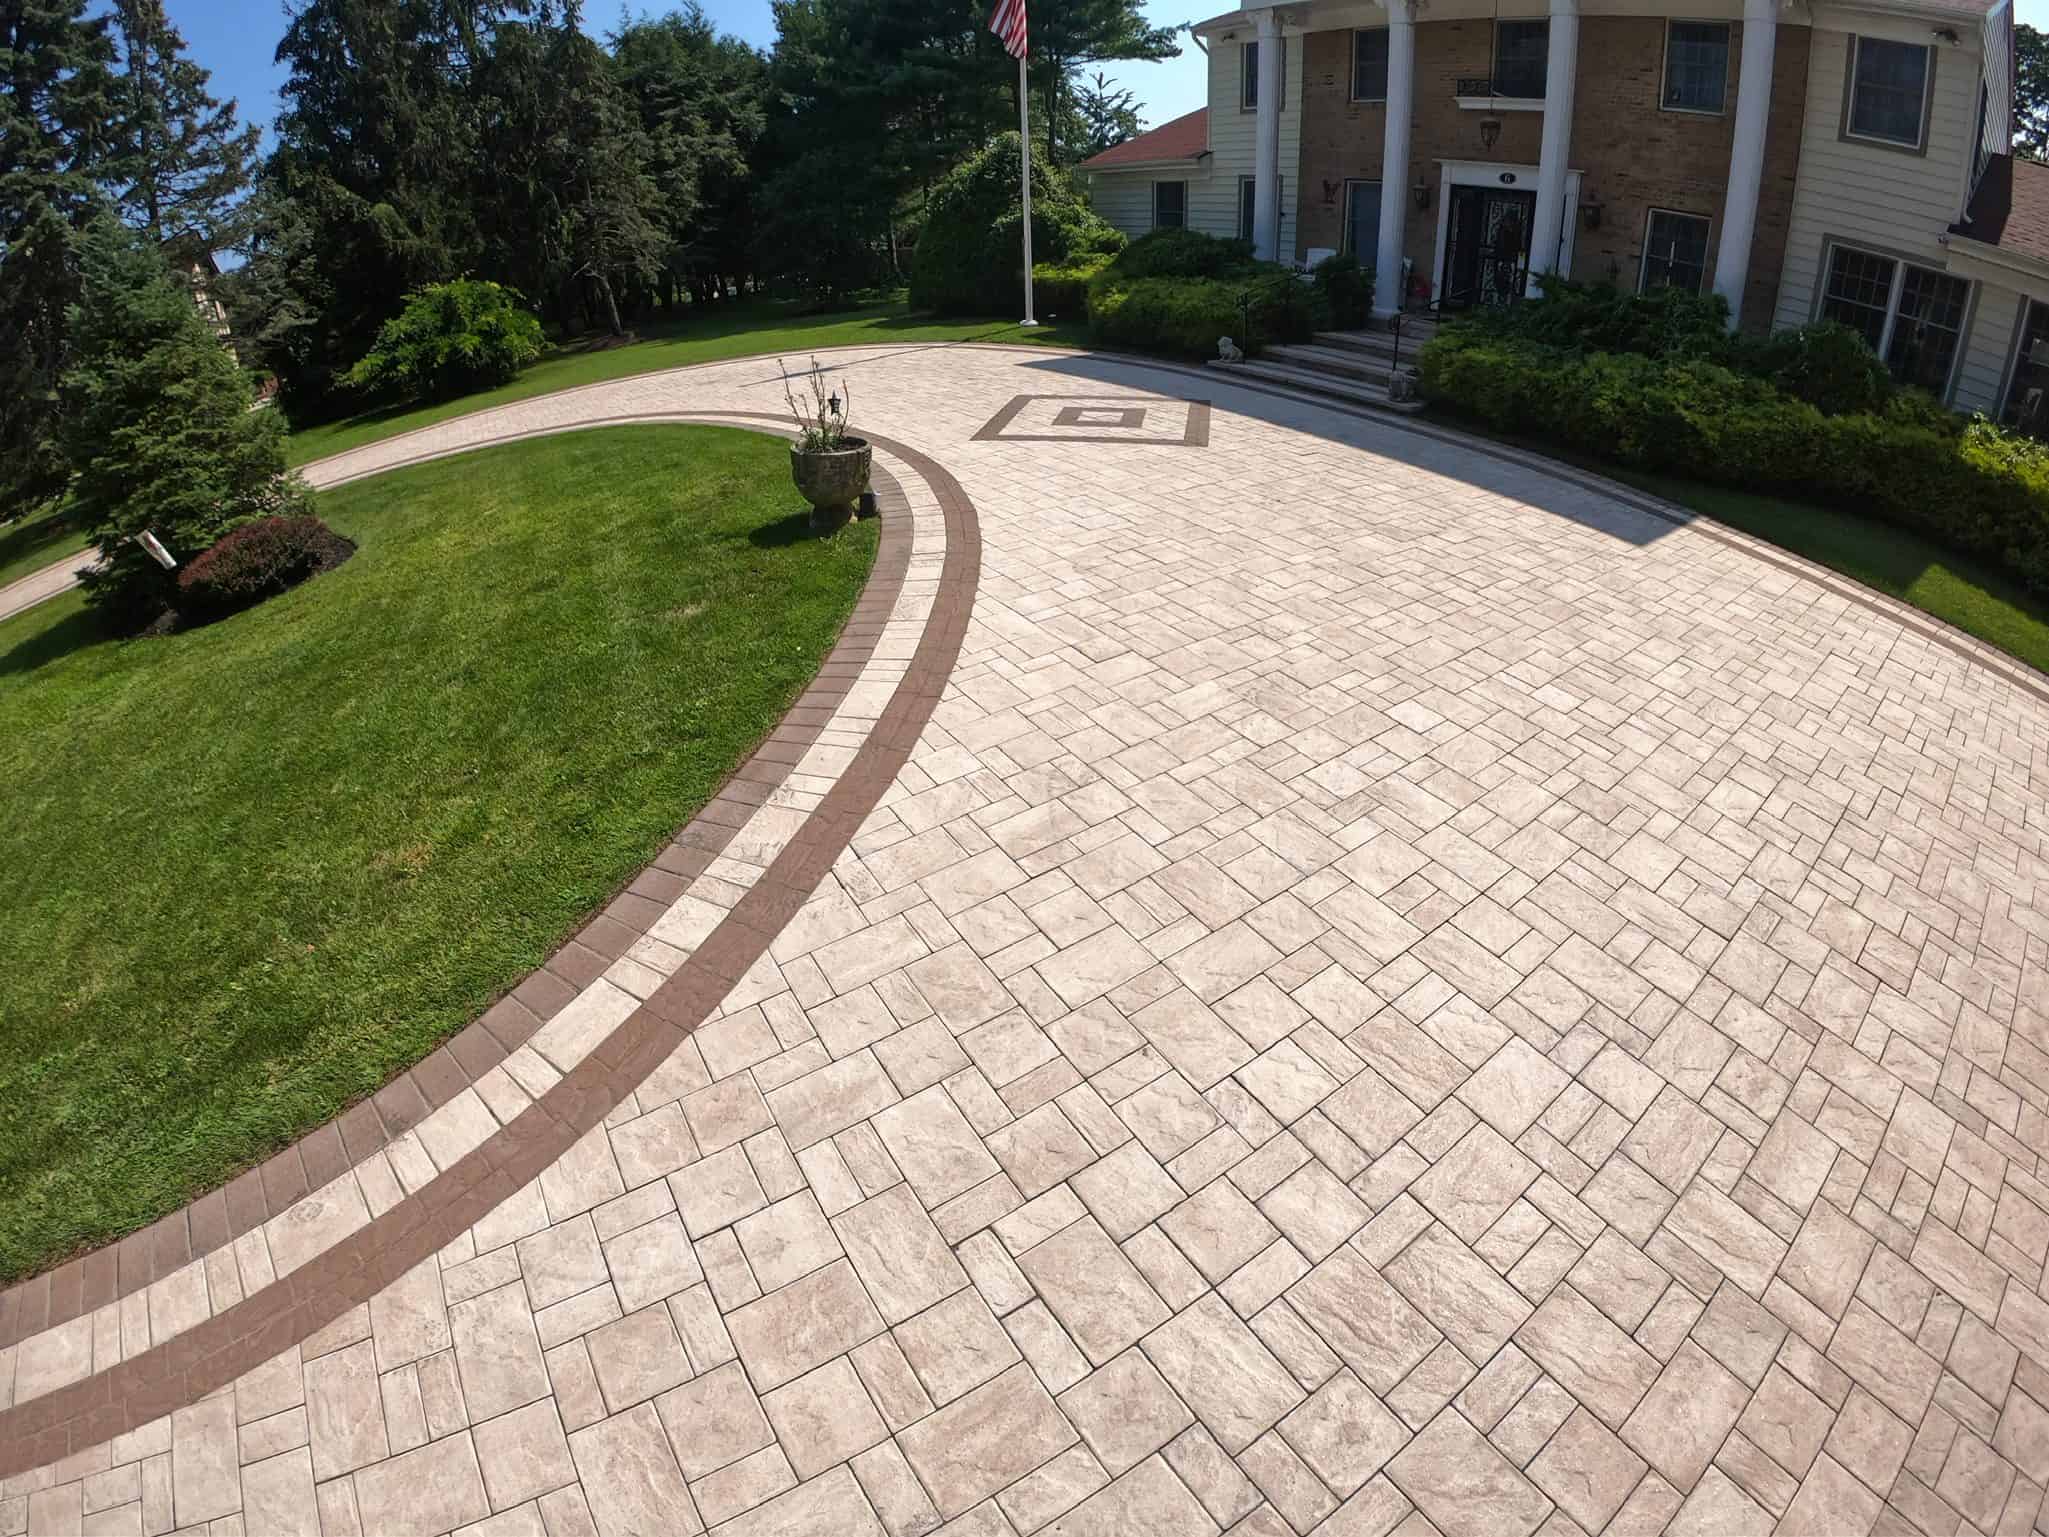
With the base prepared, the patio surface itself takes shape. This stage involves the careful placement of your chosen materials, whether it’s patio stone installation or brick patio construction. Pavers, stones, or bricks are laid directly onto the sand setting bed according to the predetermined pattern (like running bond, herringbone, or a custom design). Installers work methodically, often starting from a corner or straight edge, providing consistent joint spacing between units. Maintaining these gaps is important for stability and for the jointing material applied later. Moreover, adjustments are made as needed to keep lines straight and patterns uniform. Pieces along the edges or curves often require precise cutting using specialized masonry saws to fit perfectly. This patio paving step is where the visual design of your custom patio truly comes to life.
To prevent the patio materials from shifting or spreading outwards over time, edge restraints are installed around the perimeter. These can be made of durable plastic, aluminum, steel, or sometimes concrete, and they are secured into the base material, often hidden from view. After the edging is in place and all pavers are set, the joints between them are filled. Dry sand is swept across the surface, filling the gaps. For enhanced durability and reduced weed growth, polymeric sand is frequently used. This special sand contains binders that harden when activated with water, locking the pavers together and resisting erosion. Following sand application, the entire patio surface is typically compacted once more with a plate compactor (often with a protective pad) to settle the pavers firmly into the sand bed and vibrate the jointing sand deep into the gaps.
The final stage in the installation process for a masonry patio involves cleaning and inspection. Any excess jointing sand is carefully swept or blown off the surface. If polymeric sand was used, it’s gently misted with water according to the manufacturer’s instructions to activate the hardening binders. The entire work area is cleaned up, removing leftover materials, tools, and debris, leaving your property tidy. A final walkthrough with you, the homeowner, is usually conducted by the stone patio contractors to review the finished patio stonework or brickwork, address any questions, and provide initial care instructions. This verifies your satisfaction with the completed project.
In summary, answering “What does the typical installation process for a masonry patio involve?” reveals a multi-step procedure requiring careful planning and execution. From meticulous site preparation and base construction to the precise laying of materials and finishing touches like jointing and edge restraints, each phase contributes to the final quality and longevity of your patio. Understanding these steps underscores the value of proper patio masonry techniques. Whether you’re envisioning a classic brick patio construction or an elegant patio stone installation, a correctly built patio will provide years of enjoyment on Long Island. If you’re ready to begin your project, contact Stone Escapes Masonry & Outdoor Design Inc. to discuss your ideas.
Article details:
Share:
Continue learning: