
Hear from Our Customers

You’re tired of looking at that boring concrete slab or patchy grass where you should be hosting barbecues and watching sunsets. A properly installed paver patio changes everything.
Picture stepping out your back door onto a beautiful, level surface that doesn’t crack, doesn’t flood when it rains, and actually looks like something you’d see in a magazine. Your friends will ask who did the work.
The right paver patio becomes the heart of your home’s outdoor living. Morning coffee tastes better. Evening conversations last longer. And when the neighbors peek over the fence, you’ll feel proud instead of embarrassed.
Stone Escapes has been solving Long Island’s trickiest paver challenges for over 15 years. We’re not some fly-by-night crew—we’re licensed in Suffolk County, Nassau County, East Hampton, and Southampton, and we’re BBB accredited.
Owner Iain Traynor still handles every estimate personally. He knows that Westhampton’s sandy soil, coastal moisture, and freeze-thaw cycles require specific techniques that most contractors skip.
We excavate 8-10 inches deep, install proper drainage systems, and use edge restraints that actually work in sandy conditions. It’s the difference between a patio that lasts 5 years and one that lasts 25.
First, we evaluate your property’s drainage and soil conditions. Long Island’s sandy soil can be tricky, but we know exactly how to work with it. We mark utilities, pull permits if needed, and plan every detail before breaking ground.
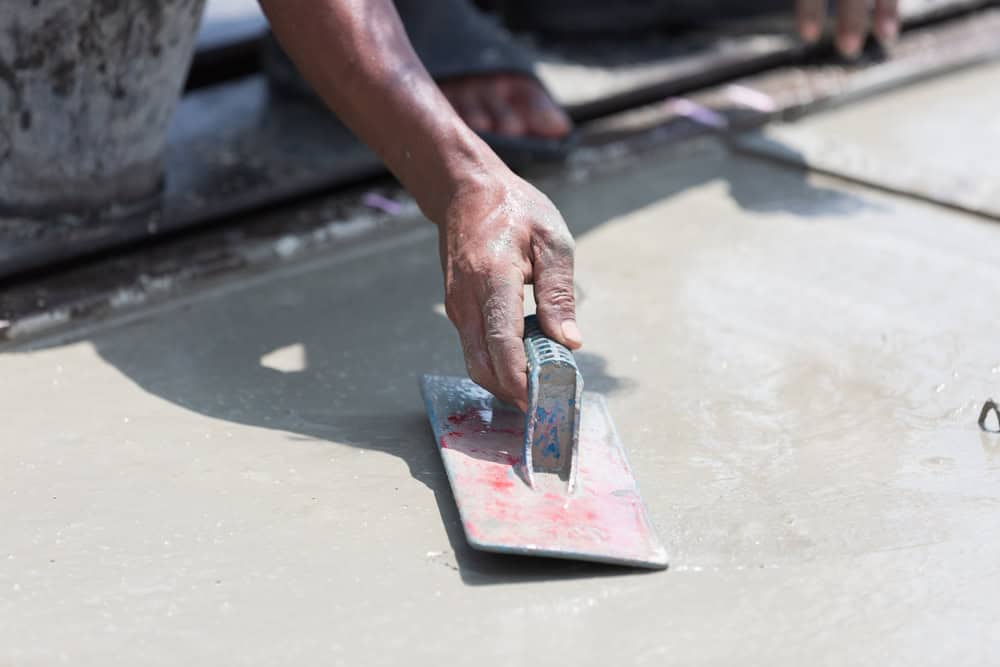
Next comes excavation. We dig 8-10 inches deep, removing any unstable soil or debris left by builders. Then we install a proper gravel base, compact it in layers, and add drainage where needed. This foundation work is what separates a professional job from a weekend DIY disaster.
Finally, we install your pavers with precision leveling, secure edge restraints, and polymeric sand that actually stays put. We clean up completely and walk you through proper maintenance. The whole process typically takes 3-5 days, depending on size and complexity.

Ready to get started?
Every Stone Escapes patio starts with proper drainage planning—something most contractors ignore until problems show up later. We design drainage systems that handle Westhampton’s coastal weather and prevent the water pooling that destroys other patios.
We use manufacturer-certified installation methods from Cambridge, Techo-Bloc, Unilock, and Nicolock. Our base preparation includes geotextile fabric for stability and proper compaction techniques that prevent settling. Edge restraints are concrete-based, not plastic spikes that fail in sandy soil.
You get consistent crews who know your project, direct communication with ownership, and a warranty that means something. We’re not trying to be the cheapest—we’re focused on being the contractor you recommend to your neighbors five years from now.

Most Westhampton homeowners invest $30-45 per square foot for professional paver patio installation. A typical 300 square foot patio runs $9,000-13,500, including excavation, proper base preparation, pavers, and installation.
The final cost depends on several factors: paver material choice, site conditions, and design complexity. Simple rectangular patios cost less than curved designs with multiple colors or patterns. Difficult access or poor drainage conditions can add to the price.
We provide detailed estimates that break down every cost, so you know exactly what you’re paying for. No surprises, no change orders unless you request additional work.
A properly installed paver patio shouldn’t sink or shift. The problems you hear about usually come from shortcuts during installation—inadequate excavation, poor base preparation, or skipping drainage planning.
We excavate 8-10 inches deep and remove any unstable soil. Our base consists of properly graded and compacted gravel, installed in layers with mechanical compaction. We also install geotextile fabric and concrete edge restraints to prevent lateral movement.
Long Island’s sandy soil actually helps with drainage when handled correctly. The key is understanding local conditions and using installation methods that work with our climate, not against it.
Drainage is critical in Westhampton because of our coastal location and sandy soil conditions. We start every project with a drainage assessment to identify where water naturally flows and where it might collect.
Our standard installation includes proper grading with a 1/4 inch per foot slope away from your house. We install drainage systems where needed—sometimes that’s French drains, sometimes catch basins, depending on your property’s specific conditions.
We also use permeable base materials and proper joint sand that allows water to percolate through rather than pooling on the surface. This prevents the water damage that destroys other patios over time.
The biggest difference is our focus on Long Island-specific conditions. Many contractors use generic installation methods that don’t account for our sandy soil, coastal moisture, and freeze-thaw cycles.
We excavate deeper than most contractors, use mechanical compaction for every layer, and install concrete edge restraints instead of plastic spikes that fail in sandy soil. Our drainage planning prevents the water problems that cause most paver failures.
You also get direct communication with ownership throughout the project. Iain handles estimates personally and stays involved through completion. We’re not a large company juggling dozens of projects—we focus on doing each job right.
Permit requirements depend on your patio’s size, location, and whether it affects drainage patterns. Many Westhampton patios over 200 square feet require permits, especially if they’re close to property lines or alter site grading.
We handle permit applications as part of our service. We know local building codes and have established relationships with town officials. This saves you time and ensures everything is done correctly from the start.
Getting permits might add a week to the timeline, but it protects you if you ever sell your home. Unpermitted work can create problems during real estate transactions that cost far more than the original permit fees.
A professionally installed paver patio should last 25-30 years with minimal maintenance. The key is proper installation that accounts for our climate conditions—freeze-thaw cycles, coastal moisture, and occasional severe weather.
We use pavers rated for Long Island’s climate and install them with techniques that prevent the most common failure modes: base settling, edge failure, and drainage problems. Quality materials combined with proper installation create patios that actually improve with age.
Regular maintenance is simple: occasional cleaning, resealing every 3-5 years, and adding joint sand as needed. We provide detailed maintenance instructions and can handle the work if you prefer professional service.