
Patio Pavers in Smithtown, NY

Outdoor Spaces That Actually Last

Professional paver installation designed for Long Island weather and your family’s needs.

Worker using a yellow plate compactor on soil next to newly laid gray stone tiles. The setup shows the process of flooring with tiles on one side and compacted earth on the other. Worker visible from the waist down.

Hear from Our Customers

A person wearing yellow gloves is placing a gray paver on a partially completed paved area. Nearby are additional pavers, a black and yellow rubber mallet, and an orange tape measure. Sand is visible next to the paved section.

Smithtown Paver Installation Services

Your Backyard, Finally Done Right

You’ve been putting this off long enough. That cracked concrete patio or muddy backyard isn’t getting better on its own, and you’re tired of looking at it every time you step outside.

Quality patio pavers change everything. No more avoiding your backyard because it’s an eyesore. No more worrying about guests seeing that mess when they come over. Instead, you get a space that actually makes you want to spend time outside.

The right paver installation gives you decades of use without the headaches. While your neighbors deal with cracking concrete and expensive repairs, your patio stays level, looks great, and handles everything Long Island weather throws at it. That’s what happens when the job gets done right the first time.

Smithtown Masonry Contractors

We Know Long Island Soil

Stone Escapes Masonry & Outdoor Design Inc has been handling paver installations across Smithtown and Long Island for years. We understand what works here and what doesn’t.

Long Island’s sandy soil and freeze-thaw cycles destroy poorly installed patios. We’ve seen the mess other contractors leave behind, and we’ve fixed plenty of their mistakes. Our installations start with proper base preparation because we know shortcuts always come back to bite you.

When you work with us, you’re working with contractors who live here, work here, and understand exactly what your patio needs to last.
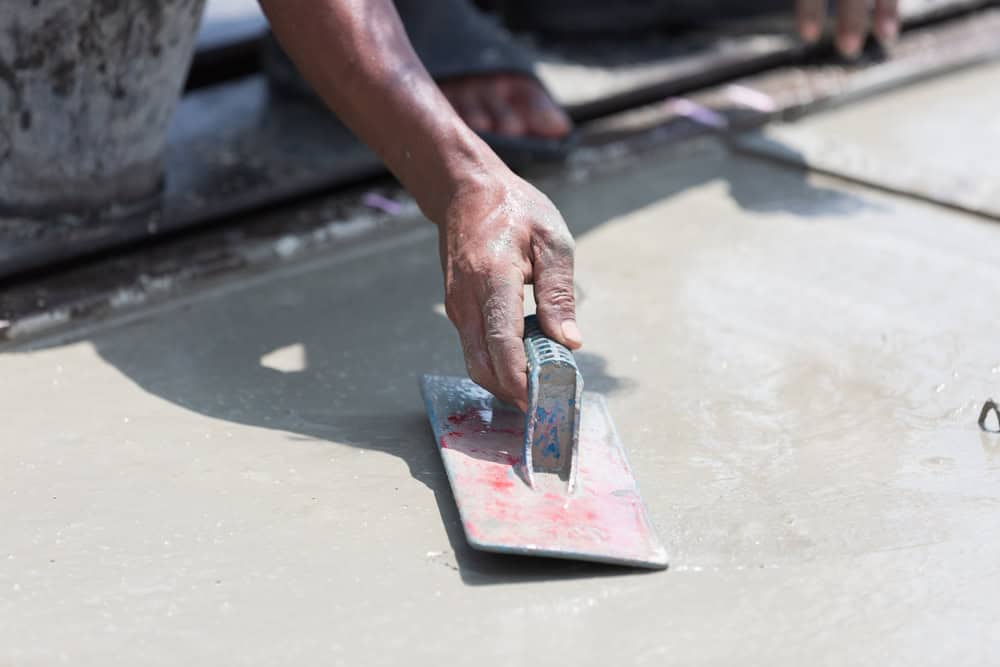
A person smoothing wet cement with a trowel. Their hand is steady as they work on the surface. The setting appears to be outdoors on a construction site.

Paver Patio Installation Process

No Surprises, No Shortcuts

First, we assess your space and discuss what you want. No high-pressure sales pitch, just straight talk about what’s realistic for your budget and timeline.

Next comes excavation and base preparation. This is where most contractors cut corners, and it’s why their patios fail. We dig deep enough, use the right materials, and compact everything properly. Your patio’s longevity depends on what happens before the first paver goes down.

Then we install your pavers with precise spacing and proper edge restraints. We check levels constantly and make adjustments as we go. Finally, we sweep in joint sand and compact everything one final time. You get a patio that’s ready to use immediately and built to handle decades of Long Island weather.

A worker in a gray shirt and cap kneels on a partially paved surface, carefully placing a brick into an arrangement. A trowel and a leveling tool lie on the sand beside him, and a rubber mallet is nearby.

Ready to get started?

Explore More Services

About Stone Escapes Masonry & Outdoor Design

Get a Free Consultation

Professional Paver Patio Services

What You Actually Get

Every paver installation includes proper excavation, base preparation with crushed stone, and professional-grade edge restraints. We don’t skip the steps that matter just to save time or money.

You also get honest advice about drainage. Smithtown’s soil conditions mean water management isn’t optional. We slope everything correctly and add drainage where needed so you never deal with standing water or ice buildup.

We handle permits when required and make sure everything meets local codes. You don’t have to worry about inspections or compliance issues because we know what Smithtown requires and we do it right from the start.

A pattern of interlocking gray concrete pavers, neatly arranged. Some pavers are stacked in piles of various heights, creating a visual texture. The blocks vary in size and shape, forming a symmetrical and geometric design.

How long do paver patios last in Long Island weather?

A properly installed paver patio lasts 25-30 years or more, even with Long Island’s freeze-thaw cycles. The key is proper base preparation and using quality materials designed for our climate. Pavers actually handle temperature changes better than concrete because they can move slightly without cracking. Individual pavers can be replaced if damaged, unlike concrete slabs that require complete replacement when they crack.
Base preparation makes or breaks every paver project. Cheap installations skip proper excavation, use inadequate base materials, or don’t compact properly. This leads to settling, shifting, and uneven surfaces within a few years. Quality installation means digging deep enough, using the right crushed stone base, proper compaction, and professional edge restraints. You pay more upfront but avoid expensive repairs and replacement costs later.
Sandy soil drains quickly, but improper grading still causes problems. We slope patios away from your house and add drainage systems when needed. The paver base itself provides excellent drainage, but we make sure water flows where it should go. We also account for areas where clay might be present, which can create unexpected drainage issues. Every site is different, so we evaluate drainage needs during the initial assessment.
Sometimes, but it depends on the concrete’s condition and proper height clearances. The existing concrete must be level, structurally sound, and properly sloped for drainage. We also need adequate clearance for door thresholds and step heights. In many cases, removing the old concrete and starting fresh gives better long-term results. We’ll evaluate your specific situation and recommend the best approach for your project and budget.
Paver patios need minimal maintenance compared to other materials. Annual tasks include sweeping debris, occasional power washing, and reapplying joint sand as needed. Sealing isn’t required but can enhance color and make cleaning easier. Weeds between pavers are prevented with proper joint sand and occasional spot treatment. Individual damaged pavers can be replaced without affecting the rest of the patio. Most homeowners find maintenance easier than expected.
Most residential paver patios take 3-5 days depending on size and complexity. Day one involves excavation and base preparation. Days two and three cover paver installation and initial compaction. Final details, joint sand, and cleanup happen on the last day. Weather can affect timing, especially during excavation. We’ll give you a realistic timeline during planning and keep you updated if conditions cause delays. Complex designs or drainage work may require additional time.