Patio Pavers in Dix Hills, NY

Transform Your Backyard Into Usable Space

Professional paver installation that handles Long Island weather and creates the outdoor living space you actually want to use.

Worker using a yellow plate compactor on soil next to newly laid gray stone tiles. The setup shows the process of flooring with tiles on one side and compacted earth on the other. Worker visible from the waist down.

Hear from Our Customers

A person wearing yellow gloves is placing a gray paver on a partially completed paved area. Nearby are additional pavers, a black and yellow rubber mallet, and an orange tape measure. Sand is visible next to the paved section.

Professional Paver Installation Services

What You Get With Professional Installation

Your new patio becomes the space where you actually want to spend time. No more looking at that unused corner of your yard wondering what to do with it.

Properly installed pavers handle everything Long Island throws at them. The freeze-thaw cycles that crack concrete don’t phase quality pavers installed with the right base preparation. You get a surface that stays level, drains properly, and looks the same in five years as it does the day we finish.

The difference is in the details most people never see. Proper excavation depth, the right base materials, and correct grading mean your investment stays put. No settling, no water pooling, no having to redo sections because someone cut corners the first time.

Dix Hills Masonry Contractors

We Know Long Island Soil Conditions

Stone Escapes Masonry & Outdoor Design Inc has been handling paver installations across Long Island for years. We understand the clay soil conditions in Dix Hills and how they affect drainage and settling.

Every project gets the same attention to proper base preparation and grading. We’re licensed, insured, and we show up when we say we will. No disappearing acts, no cutting corners to save a few bucks that cost you thousands later.

The goal is simple: install your pavers right the first time so you never have to think about them again.

A person smoothing wet cement with a trowel. Their hand is steady as they work on the surface. The setting appears to be outdoors on a construction site.

Paver Installation Process

How We Install Pavers That Last

First, we excavate to the proper depth based on your soil conditions and intended use. This isn’t guesswork – Dix Hills clay soil requires specific preparation to prevent settling and drainage issues.

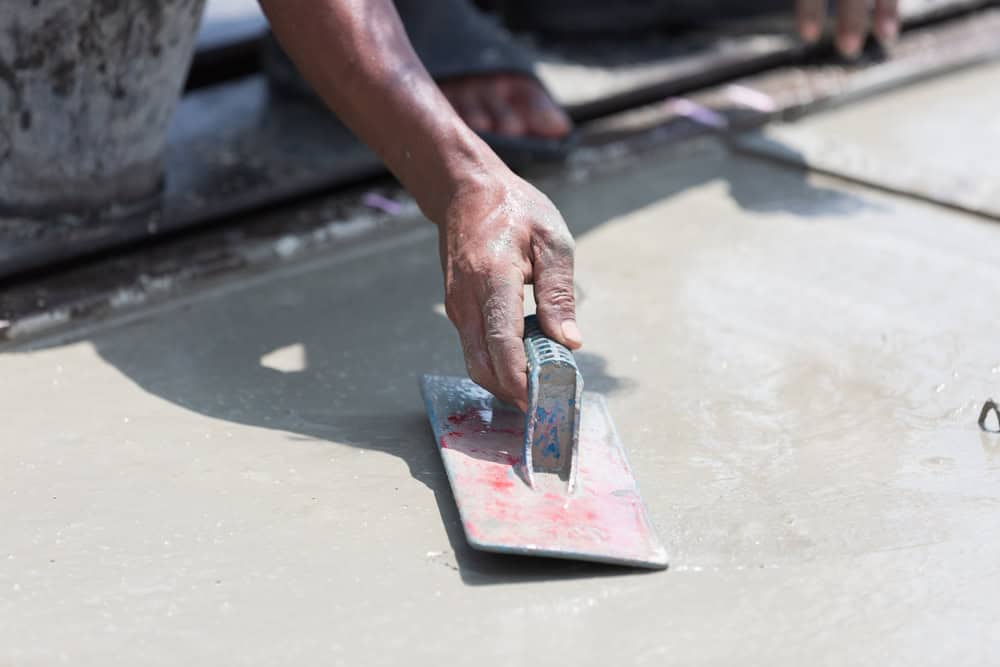
Next comes base preparation with the right materials compacted in lifts. This is where most problems start if it’s done wrong. We use proper base materials and compact every layer to ensure your pavers have a stable foundation that won’t shift over time.

Then we install your pavers with proper spacing and edge restraints. The final step involves joint sand application and compaction. You end up with a patio that’s ready to use immediately and built to handle whatever weather comes next. The whole process typically takes 3-5 days depending on size and complexity.

A worker in a gray shirt and cap kneels on a partially paved surface, carefully placing a brick into an arrangement. A trowel and a leveling tool lie on the sand beside him, and a rubber mallet is nearby.

Ready to get started?

Explore More Services

About Stone Escapes Masonry & Outdoor Design

Get a Free Consultation

Paver Patio Design Options

Materials and Patterns That Work Here

You have options beyond the basic rectangular paver layout. Different materials, colors, and patterns can match your home’s style while handling Long Island’s climate demands.

Stone pavers offer natural variation and durability. Concrete pavers provide consistent sizing and more color options. Both work well here when installed properly. The key is choosing materials rated for freeze-thaw cycles and selecting patterns that complement your home’s architecture.

We handle the design consultation, material selection, and proper installation. You get a patio that looks intentional and functions properly. No cookie-cutter installations that ignore your specific site conditions or preferences.

A pattern of interlocking gray concrete pavers, neatly arranged. Some pavers are stacked in piles of various heights, creating a visual texture. The blocks vary in size and shape, forming a symmetrical and geometric design.

How long do paver patios last in Long Island weather?

Properly installed paver patios last 20-30 years or more in Long Island’s climate. The key is correct base preparation and using materials rated for freeze-thaw cycles. Quality pavers actually handle winter conditions better than poured concrete because individual units can move slightly without cracking. When one paver eventually needs replacement, you can swap it out without redoing the entire surface. Poor installation with inadequate base preparation causes most premature failures, not the pavers themselves.
Professional installation means proper excavation depth, correct base materials, and understanding drainage requirements for your specific site. DIY installations often fail because homeowners underestimate the importance of base preparation or don’t account for local soil conditions. In Dix Hills, clay soil requires specific techniques to prevent settling and water issues. We have the equipment to properly compact base materials and grade for drainage. The upfront cost difference becomes irrelevant when DIY installations need repairs or complete replacement within a few years.
Proper drainage starts with correct grading during excavation. We slope the base away from your house and toward appropriate drainage areas. Paver joints allow some water infiltration, but the real drainage happens in the base preparation. We install proper base materials that drain well and grade everything to direct water where it needs to go. In areas with clay soil like Dix Hills, we sometimes add drainage features to handle water that doesn’t infiltrate quickly. Poor drainage causes most paver problems, so we address it from the beginning rather than trying to fix issues later.
Yes, but only if the existing concrete is in good condition, properly sloped, and structurally sound. Cracked or settling concrete needs removal before paver installation. When the concrete base is solid, we can install pavers over it using modified installation techniques. This saves excavation time and cost while still providing a quality result. However, installing over concrete limits some drainage benefits of traditional paver installation. We evaluate each situation individually to determine if overlay installation makes sense or if removal and proper base preparation is the better long-term solution.
Paver patios need minimal maintenance when installed correctly. Annual joint sand replenishment and occasional cleaning handle most maintenance requirements. Power washing removes surface dirt and stains. Sealing is optional but can enhance color and provide some stain protection. Individual damaged pavers can be replaced without affecting surrounding areas. Weed growth in joints is prevented with proper joint sand or polymeric sand application. The main advantage over concrete is that maintenance involves simple repairs rather than major resurfacing or replacement projects.
Paver installation costs vary based on materials chosen, site conditions, and project complexity. Basic concrete paver installations start around $15-20 per square foot installed. Natural stone pavers and complex patterns increase costs. Site preparation requirements affect pricing significantly – difficult access, extensive excavation, or drainage solutions add to the base cost. We provide detailed estimates after evaluating your specific site conditions and material preferences. The investment typically pays back through increased property value and eliminates ongoing maintenance costs associated with other patio materials. Quality installation costs more upfront but prevents expensive repairs later.